Step 1 - Create your target groups; What subgroup are you focusing in your campaign?
- Go to Company and choose Target Users
- In Target Users, you can have as many groups as you’d like.
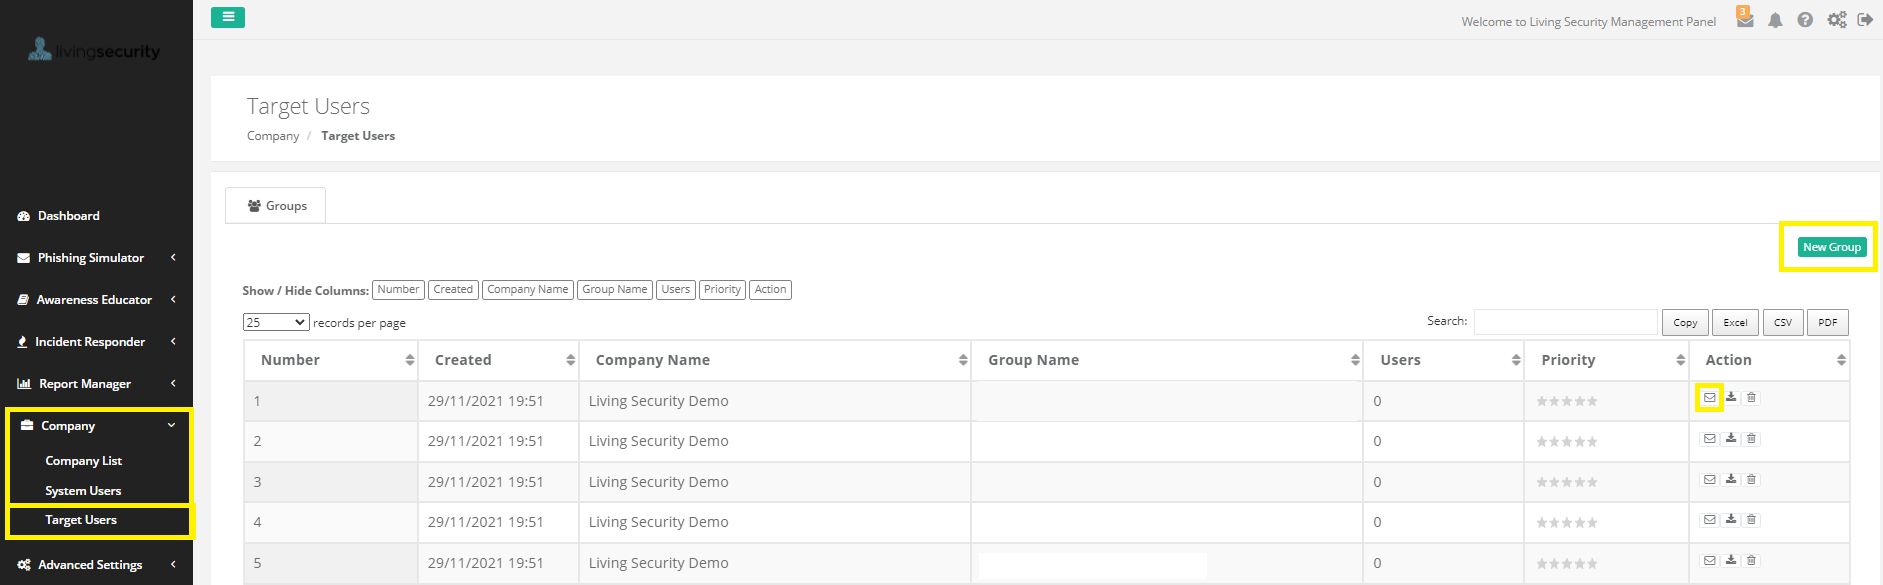
- If you need a refresher on how to create a Target User, reference our How Do I Manually Add Users to Target Users? or How to Edit or Upload a Target User Group articles.
Step 2 - Choose your Phishing Scenario; You’re able to search and filter as much as you’d like to find one that works best.
- Go to Phishing Simulator and choose Phishing Scenarios
- From the view below you can search the existing catalog of templates or edit them as much as you’d like
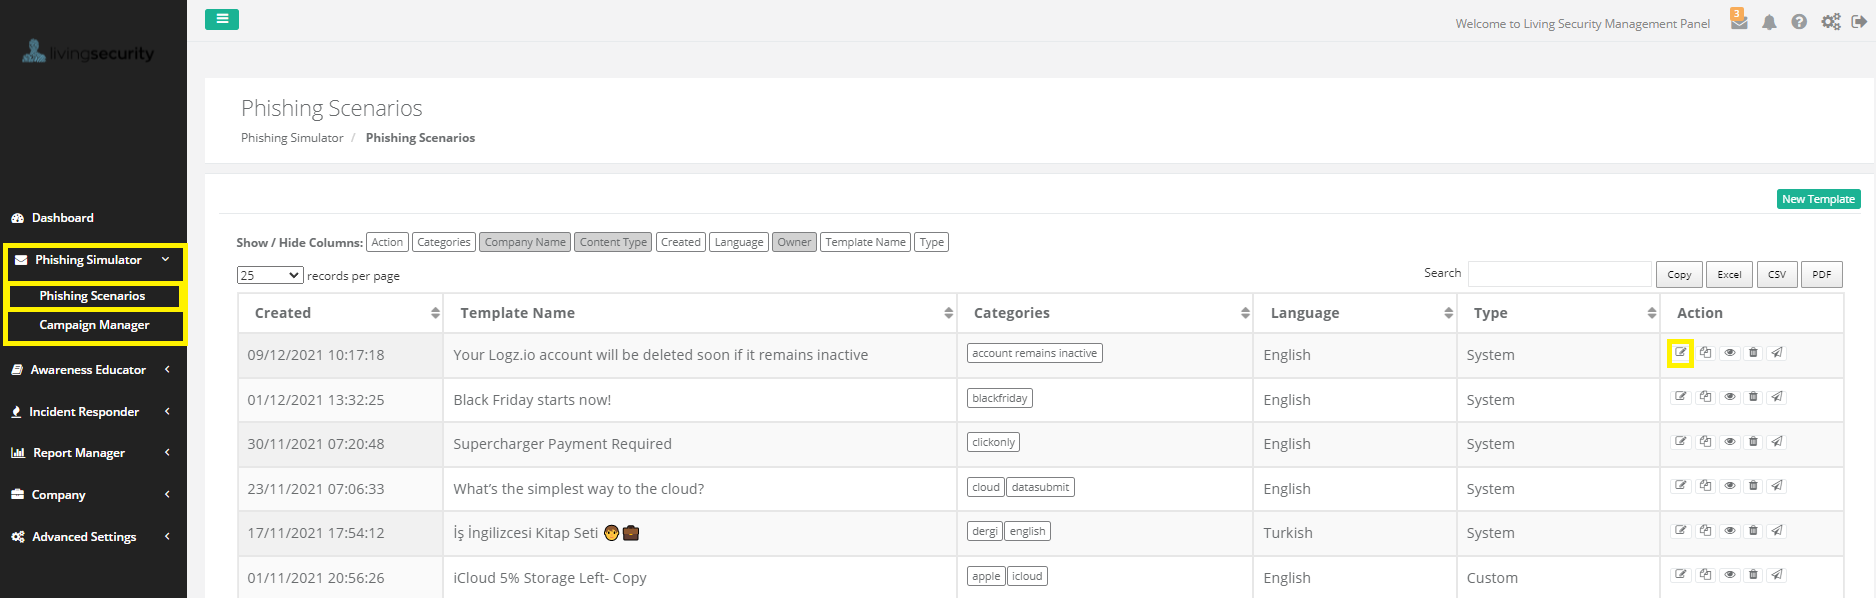
- If you are needing a refresher on editing a Phishing Scenario template, reference our How Do I Edit Phishing Templates? article.
Step 3 - Create your Campaign; Campaign Manager is where you'll pair up the Target User Group and Phishing Scenario from above to send out.
- Go to Phishing Simulator and choose Campaign Manager.
- Click on New Campaign
- From the view below you can fill out the fields to setup the campaign settings and then schedule the campaign to begin at a certain date/time under Advanced Settings

- Remember to test the Campaign on yourself before sending out to the entire Target group and ensure it reaches your E-Mail.
- If you are needing a refresher on how to launch a Campaign, reference our How Do I Launch a Phishing Campaign? article.
If you have any additional questions, please feel free to reach as at help@livingsecurity.com.
