Creating Campaigns is the first step to scheduling sessions. To create a Campaign, follow these steps or check out the GIF below:
- Click on the Scheduling Tab
- On the top left of the screen select the plus sign next to 'Create Campaign'
- In the next window, select your storyline and press 'continue'
- Name your Campaign
- Select your Storyline language (if translations are available for the storyline chosen) from the dropdown menu
(Campaigns are Storyline and Language specific. You will only be able to choose 1 Storyline and 1 Langauge per Campaign. For other storylines, create a new Campaign) - Select a Default Region
- Assign Collaborators (if needed)
- Select 'Complete'
- You will then be able to view a List of all Campaigns you have created
- To access a Campaign and start creating sessions, click on the Campaign name
You are ready to start scheduling sessions for your Campaign and start inviting participants!

Campaigns for International Teams: CyberEscape Online Sessions
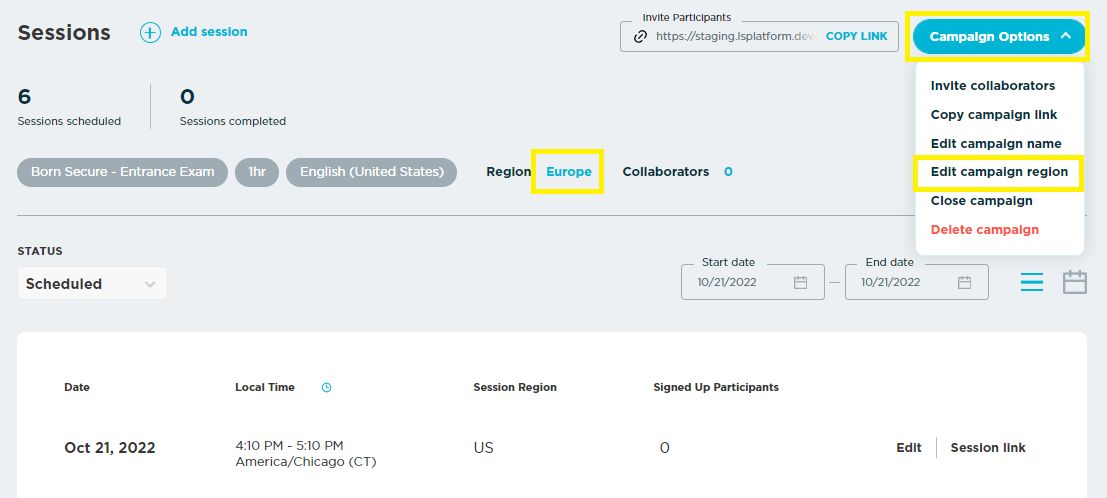
Preselect a default region that your sessions will be created in within your Campaign. For example, if you have employees in Europe, you want to create a Campaign for those employees with the Region set to Europe. This ensures that they connect to a server in Europe instead of North America which could potentially cause gameplay issues due to the time it takes to connect to a server farther away.

Sessions created in this Campaign will default to the Europe server. However, you can change the region of a Campaign at any time as shown in the screenshot below.
⛔ Please Note: There is specific whitelisting that must be completed before additional Regions can be utilized! Whitelisting can be found here: URL / IP Whitelisting.
For more on how to create a Session, check out How to Schedule Sessions on the Teams: CyberEscape Online Scheduling Tool.
Have any questions? Contact Us
