First, go to script.google.com and click on the New Script button. It is recommended that you use the Legacy editor version of script.google.com for the following instructions.
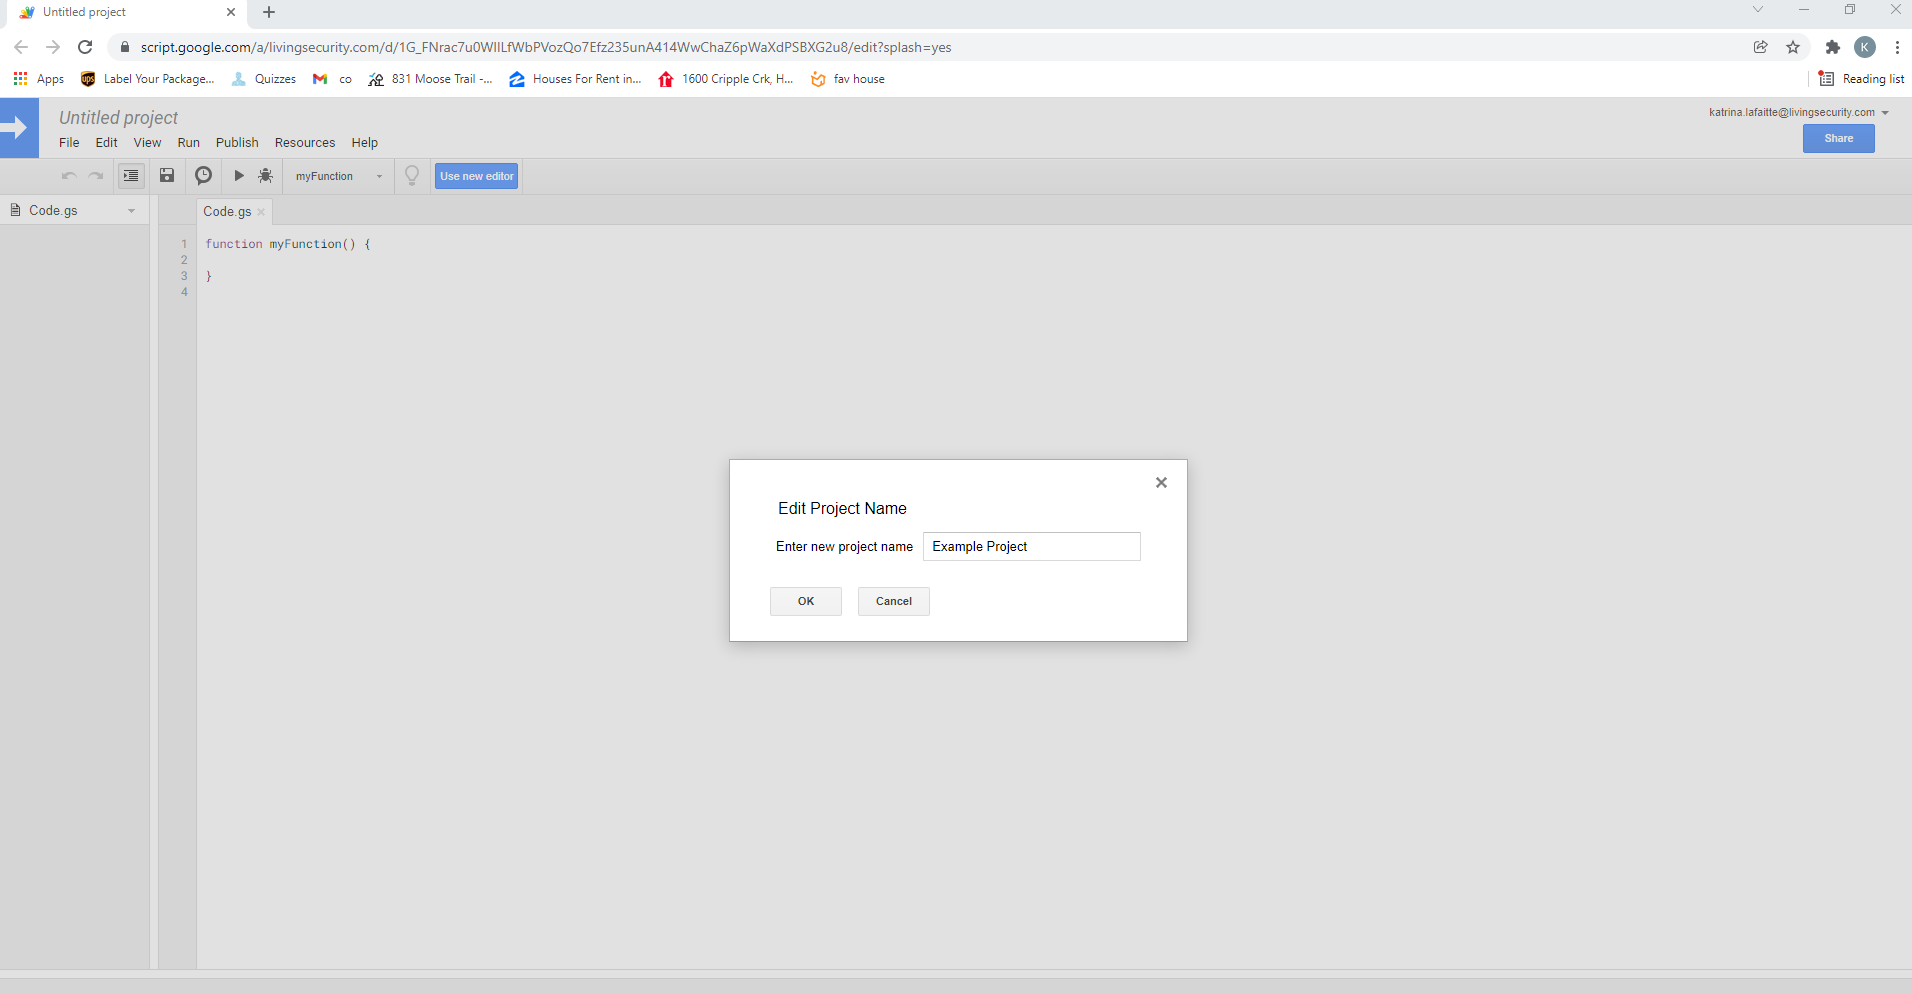
The new script file that is opened is saved with a project name.
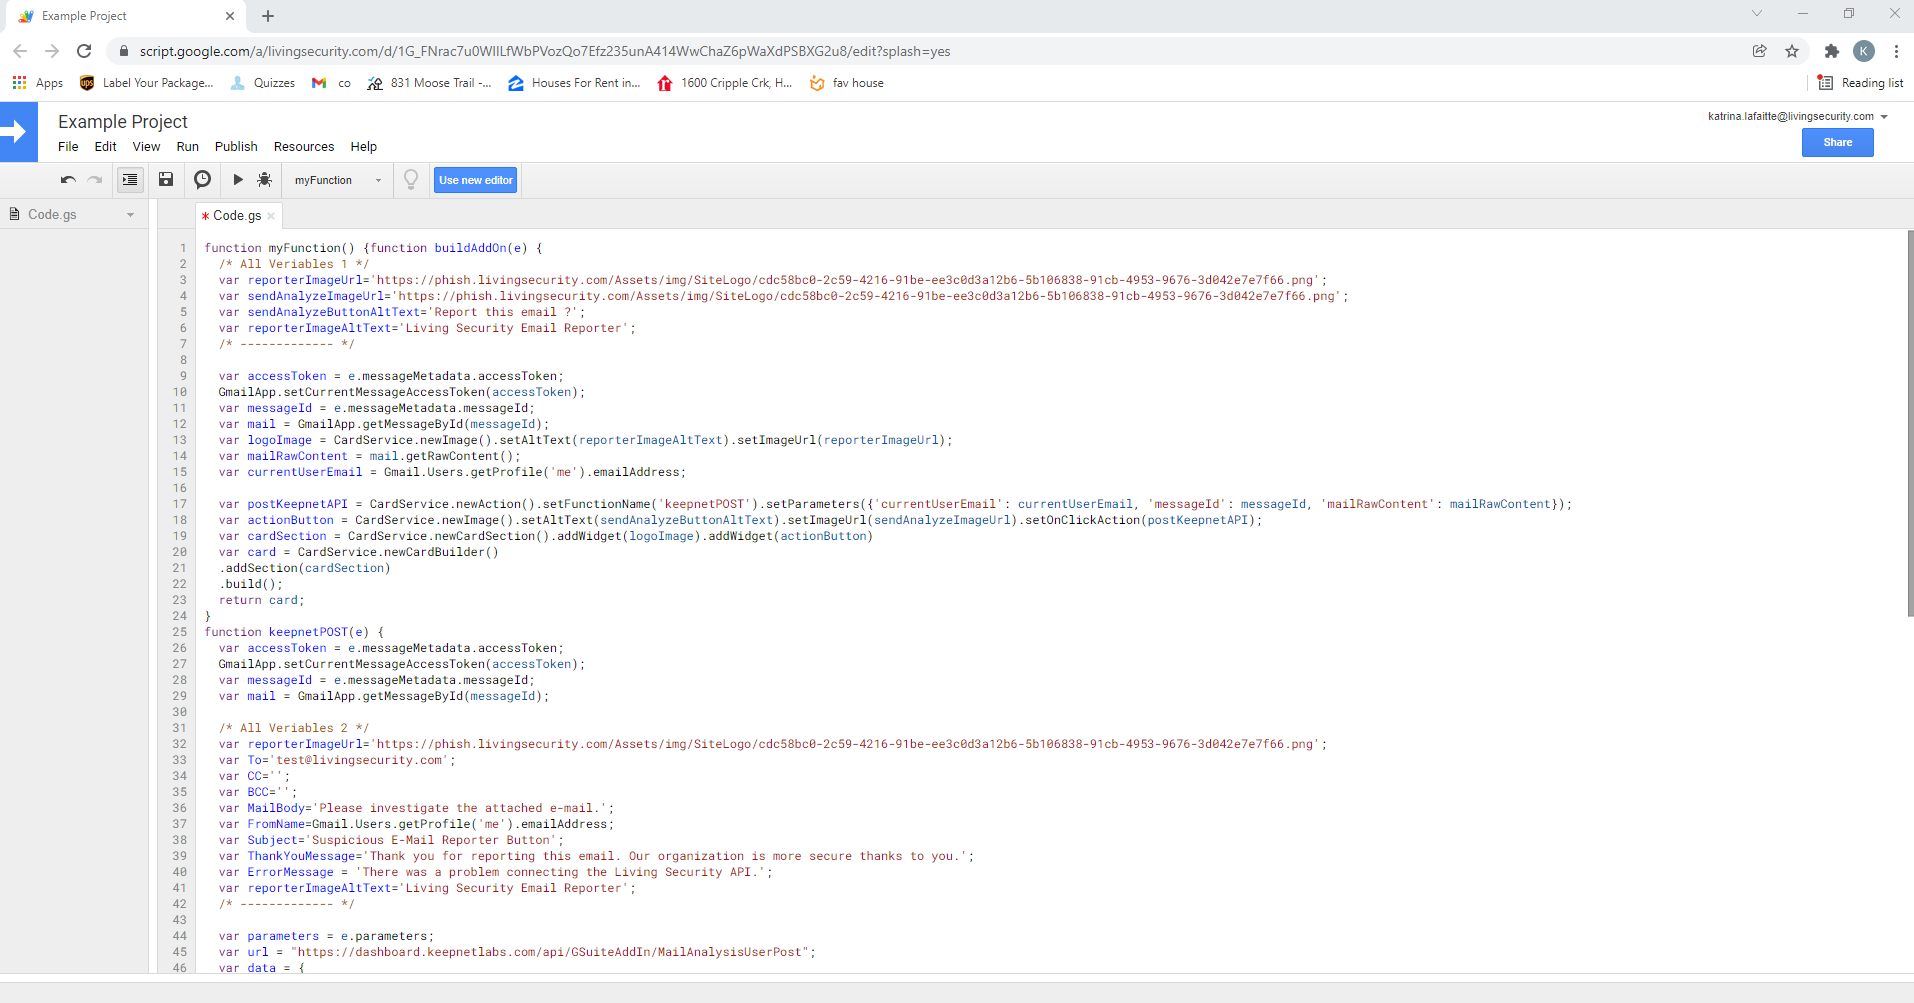
In the Code.gs, paste the Script code provided by Platform to you and save it.
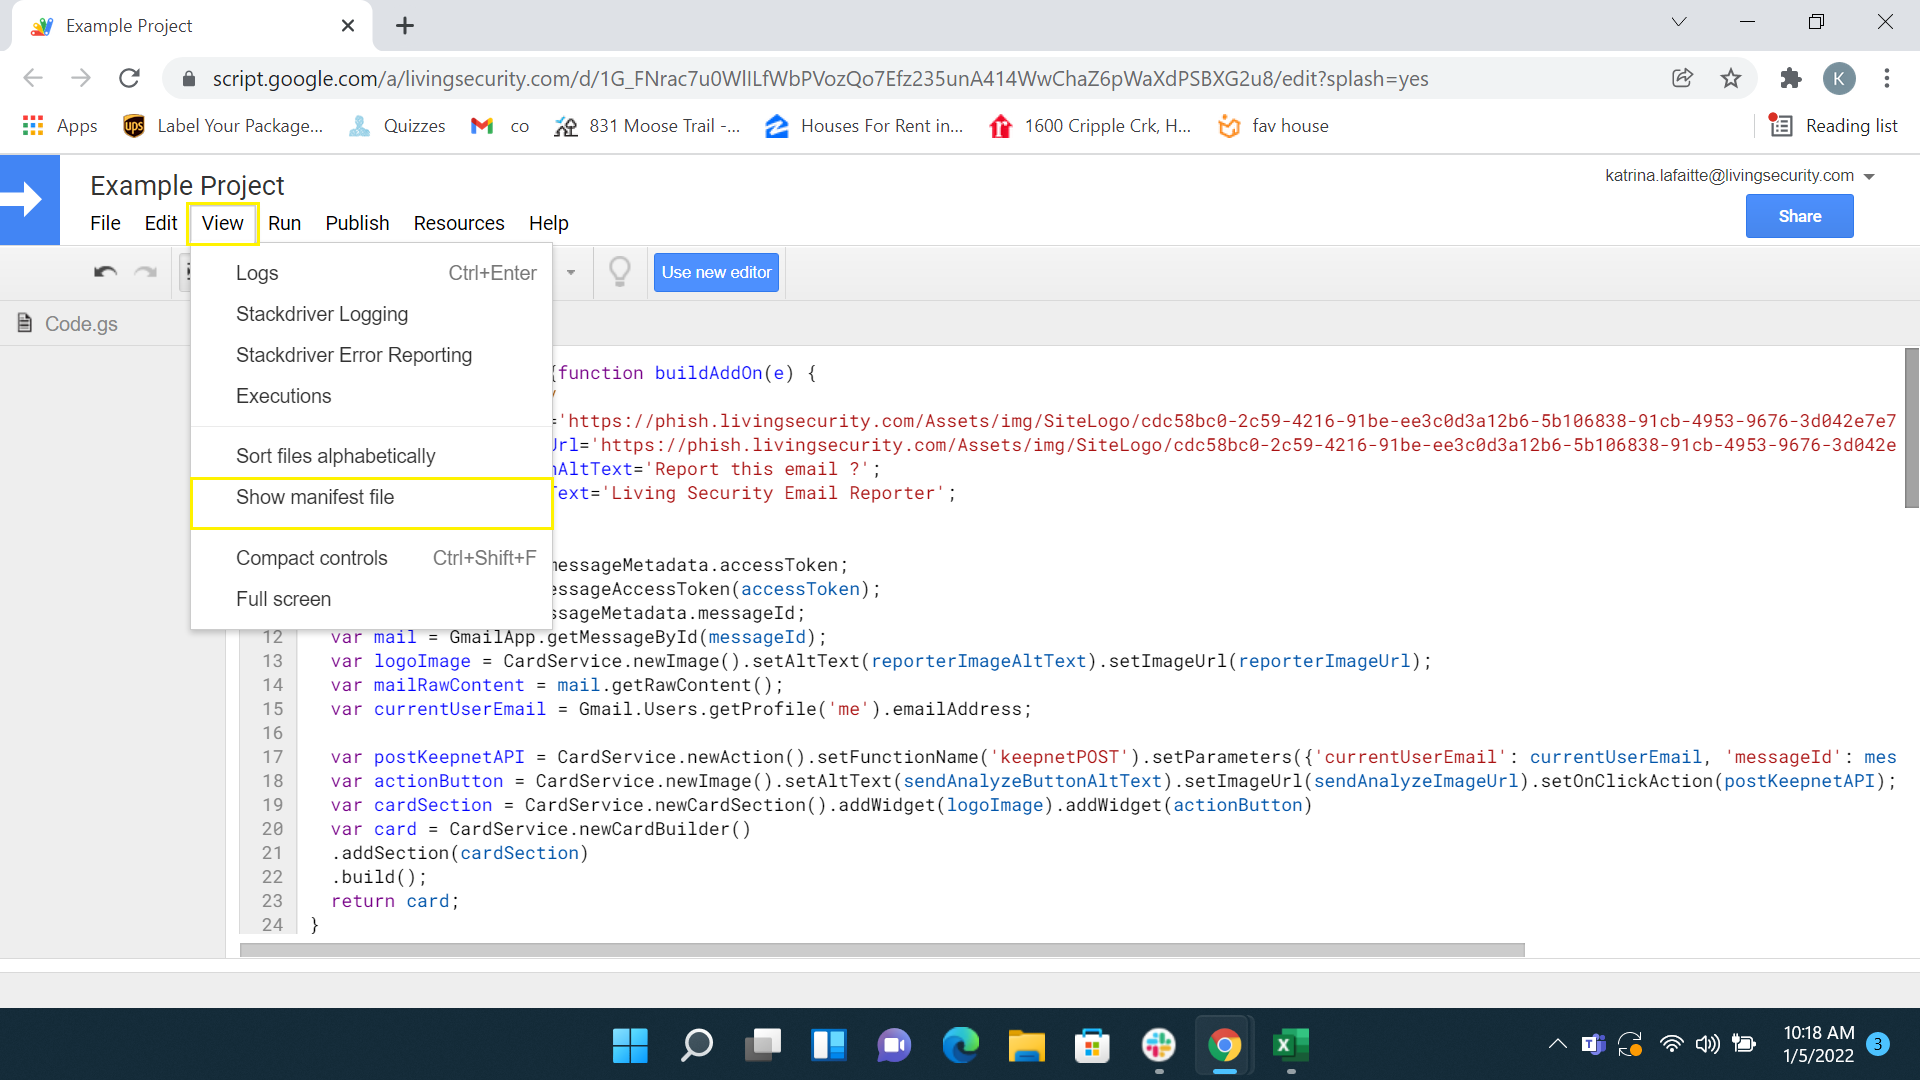
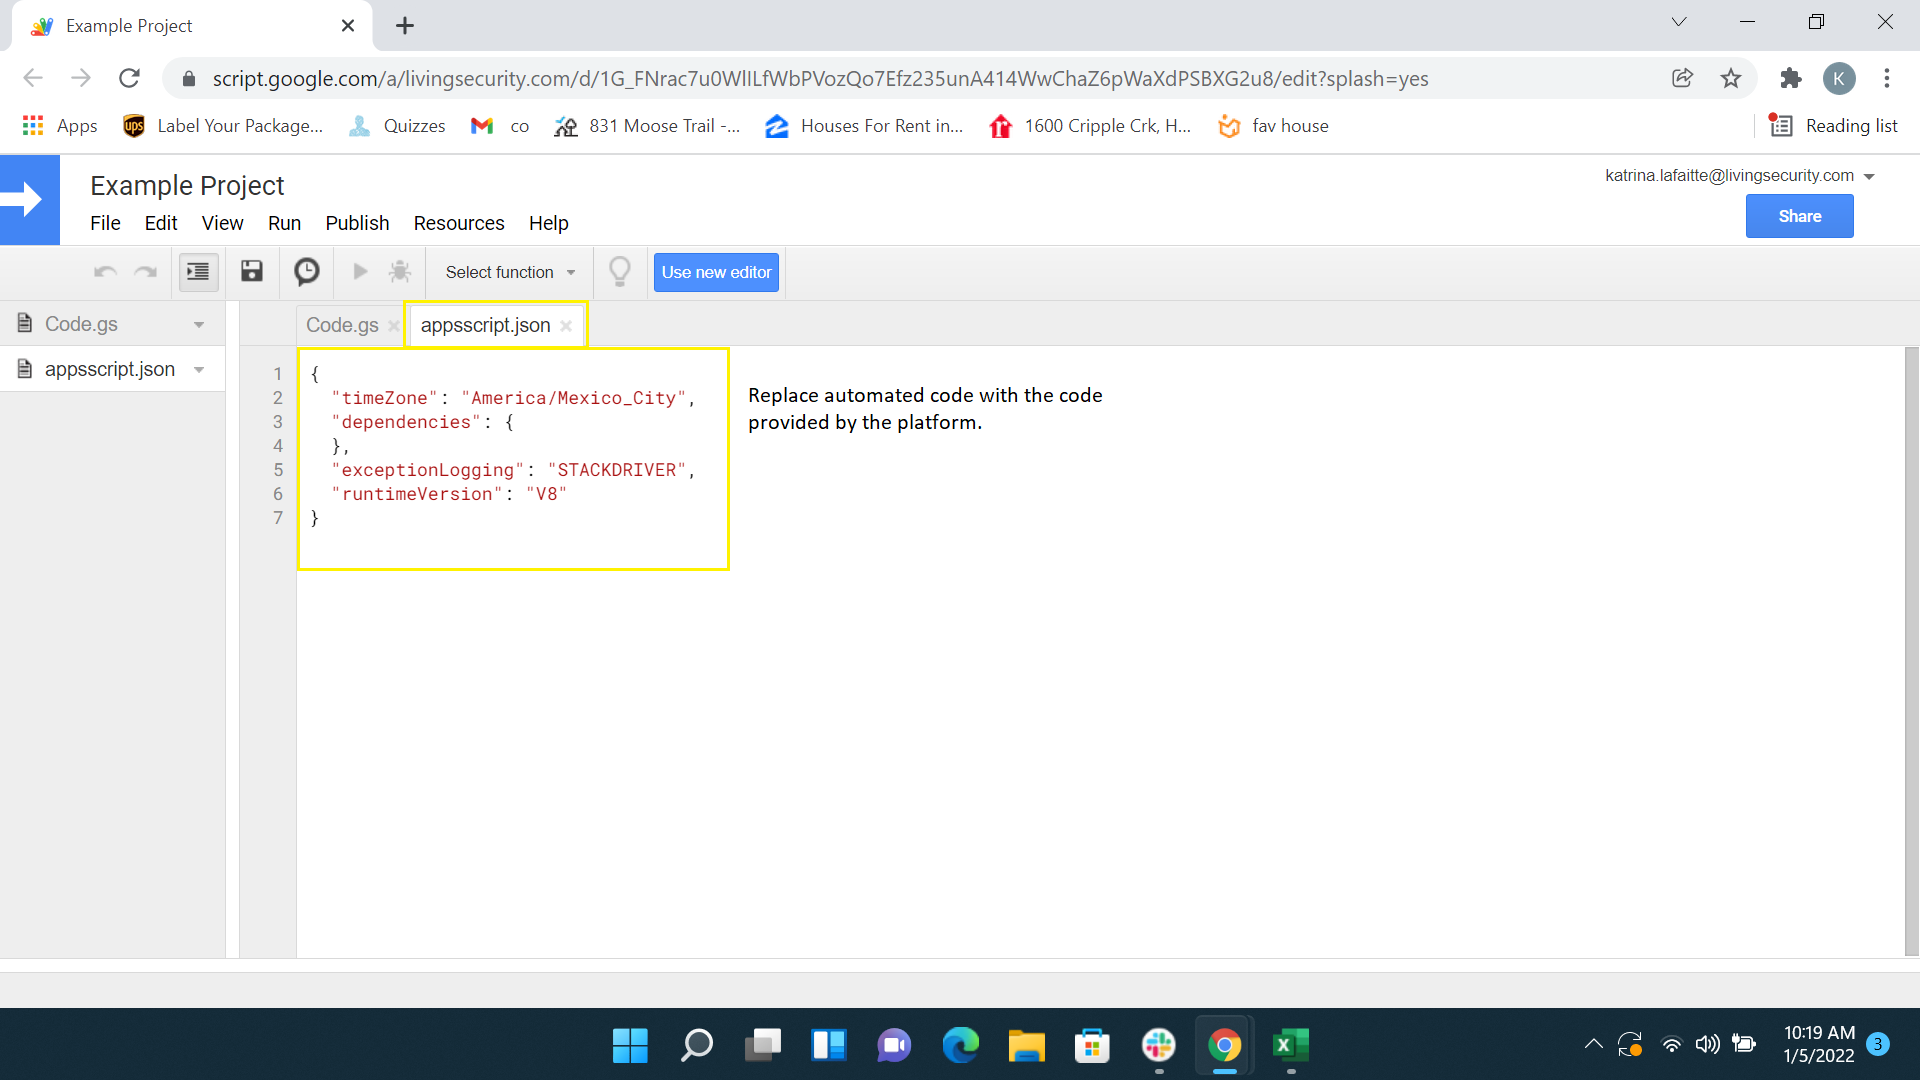
Then follow View> Show manifest file path and create the appscript.json file.
Then copy the Manifest code provided by Platform to the screenshot below.
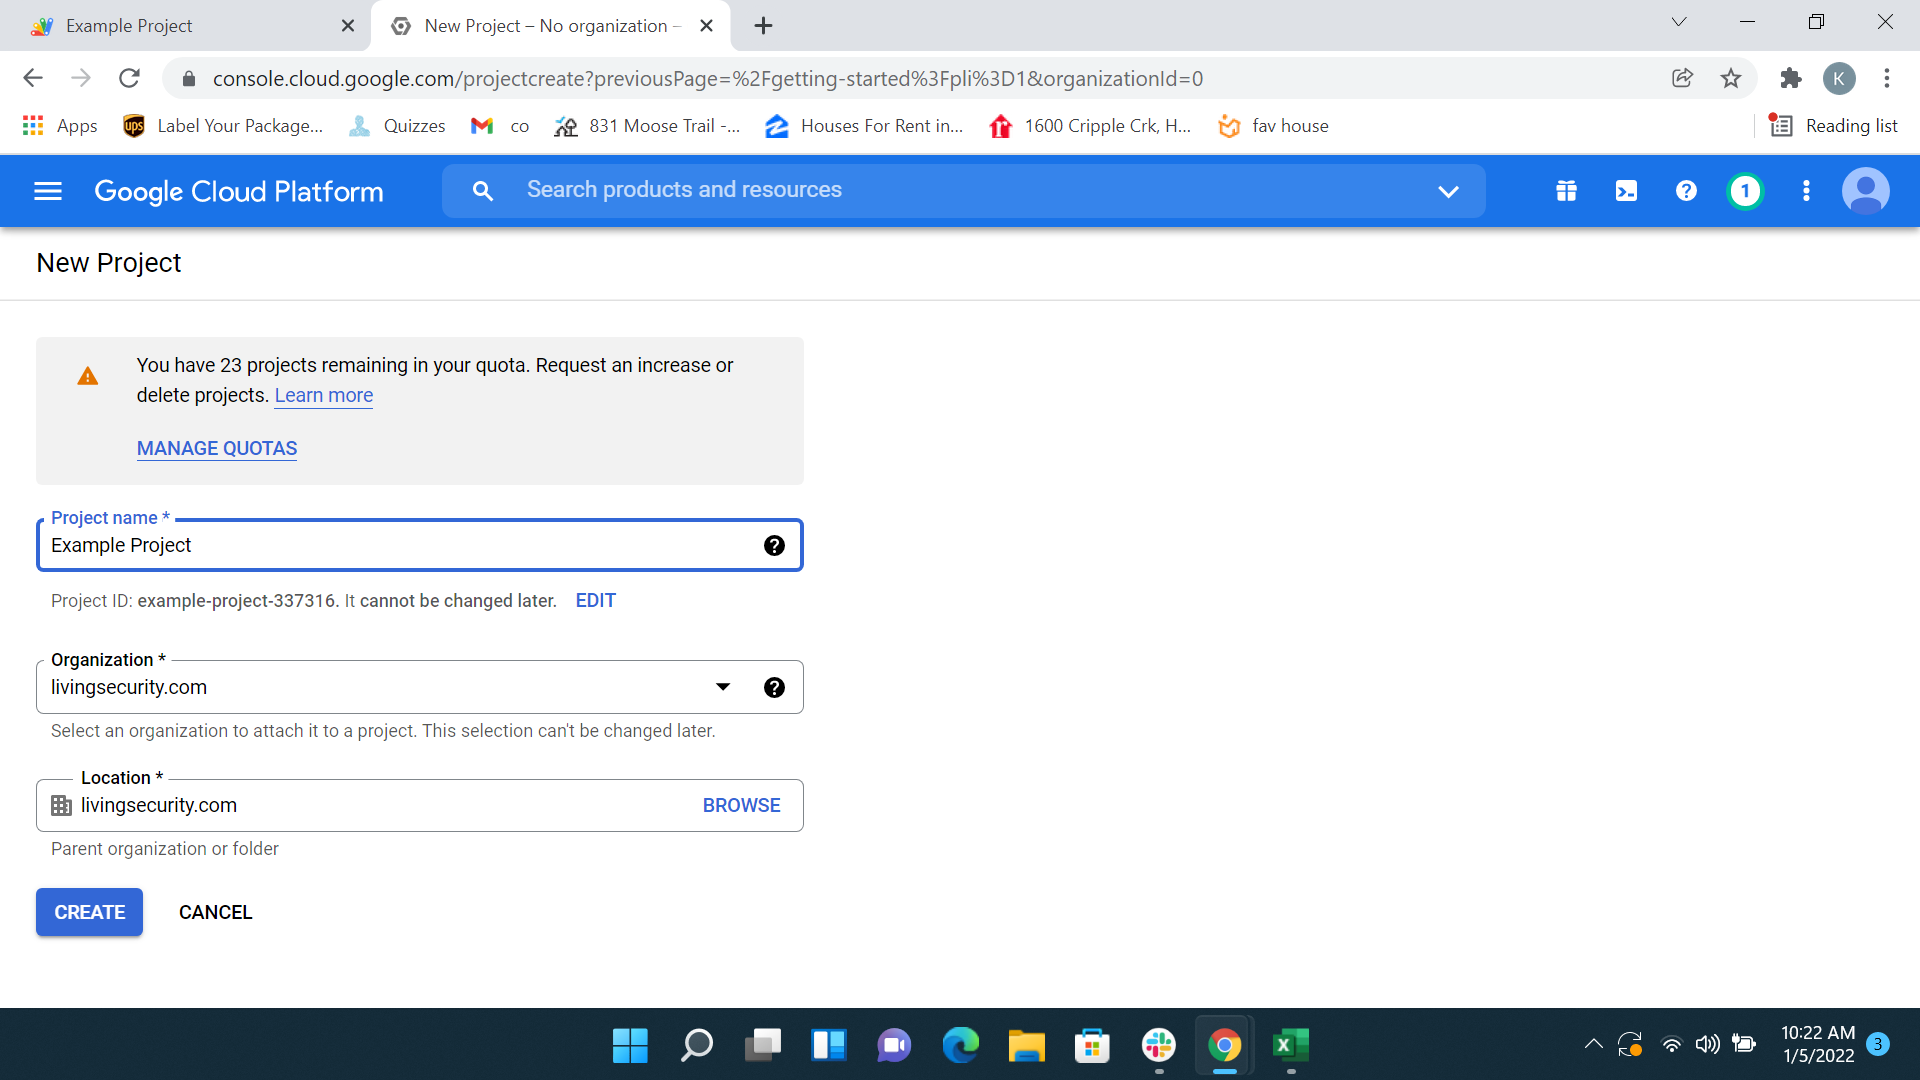
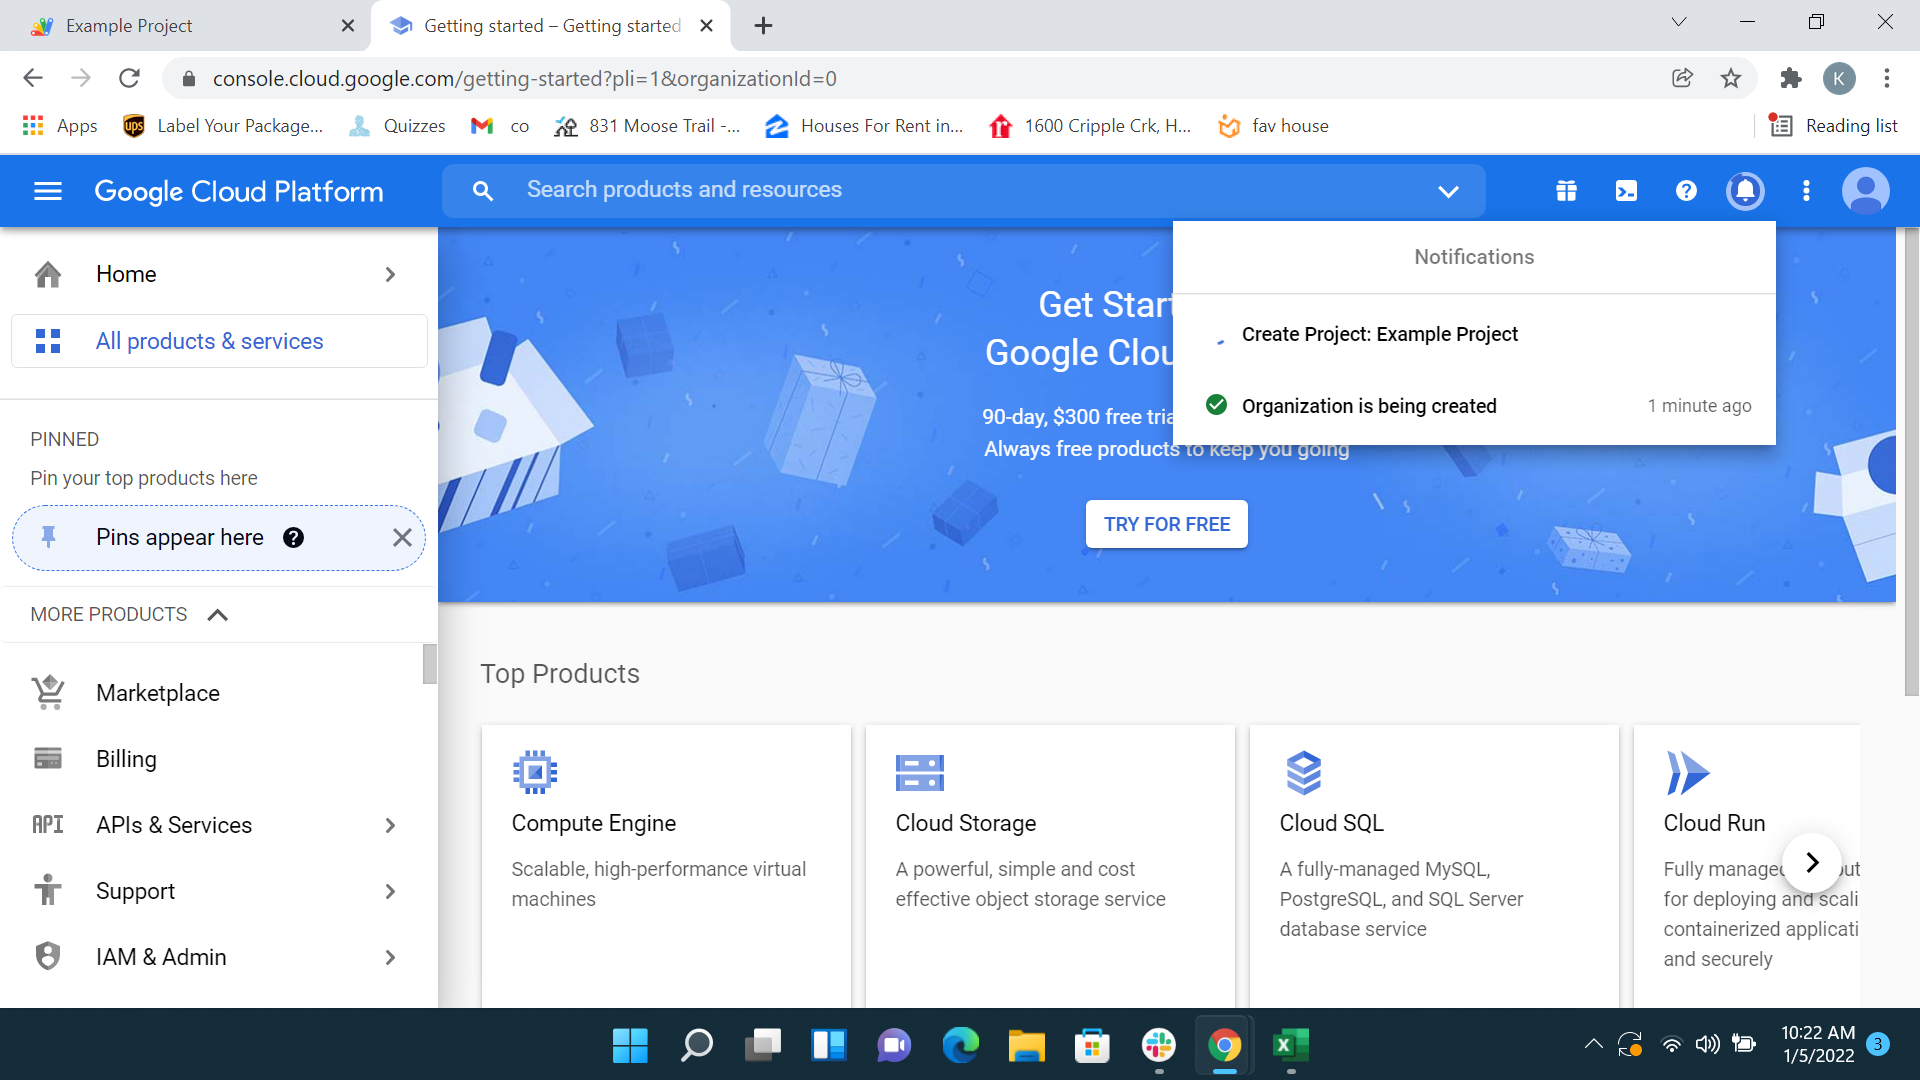
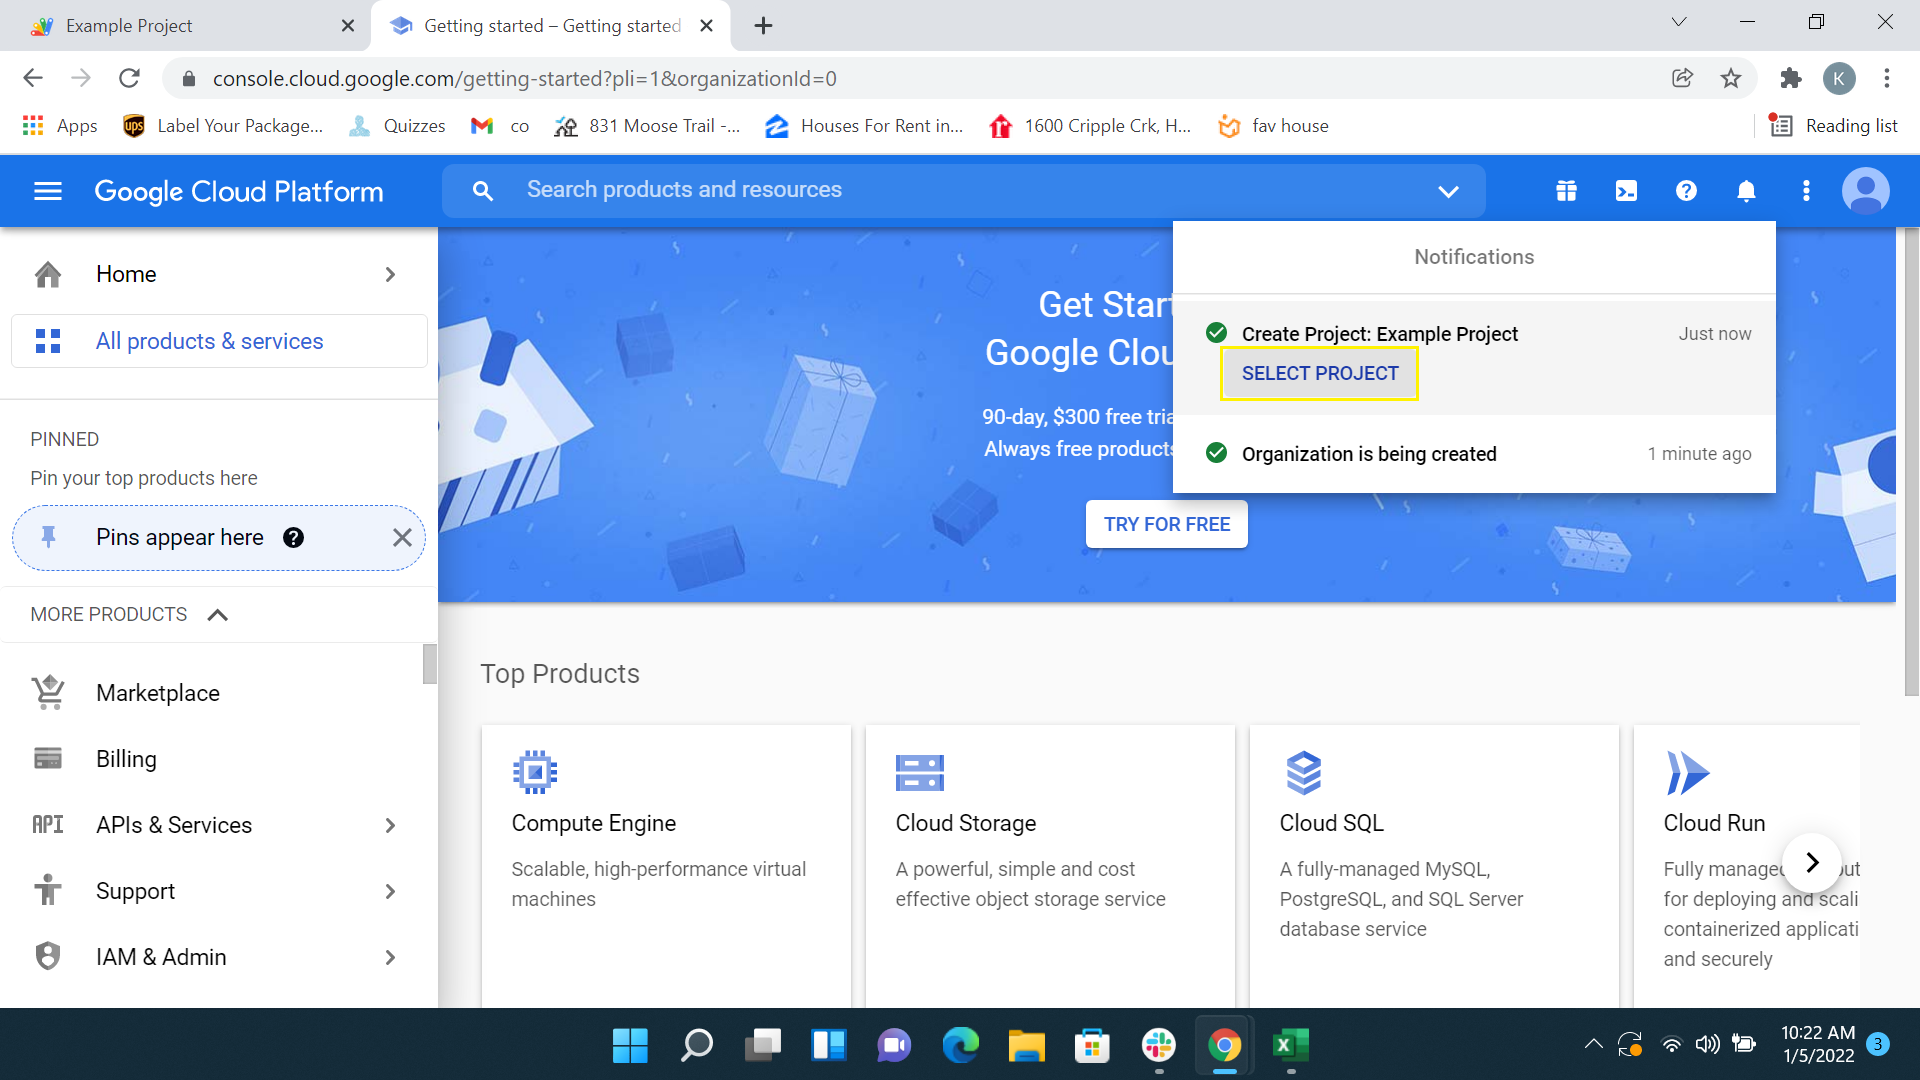
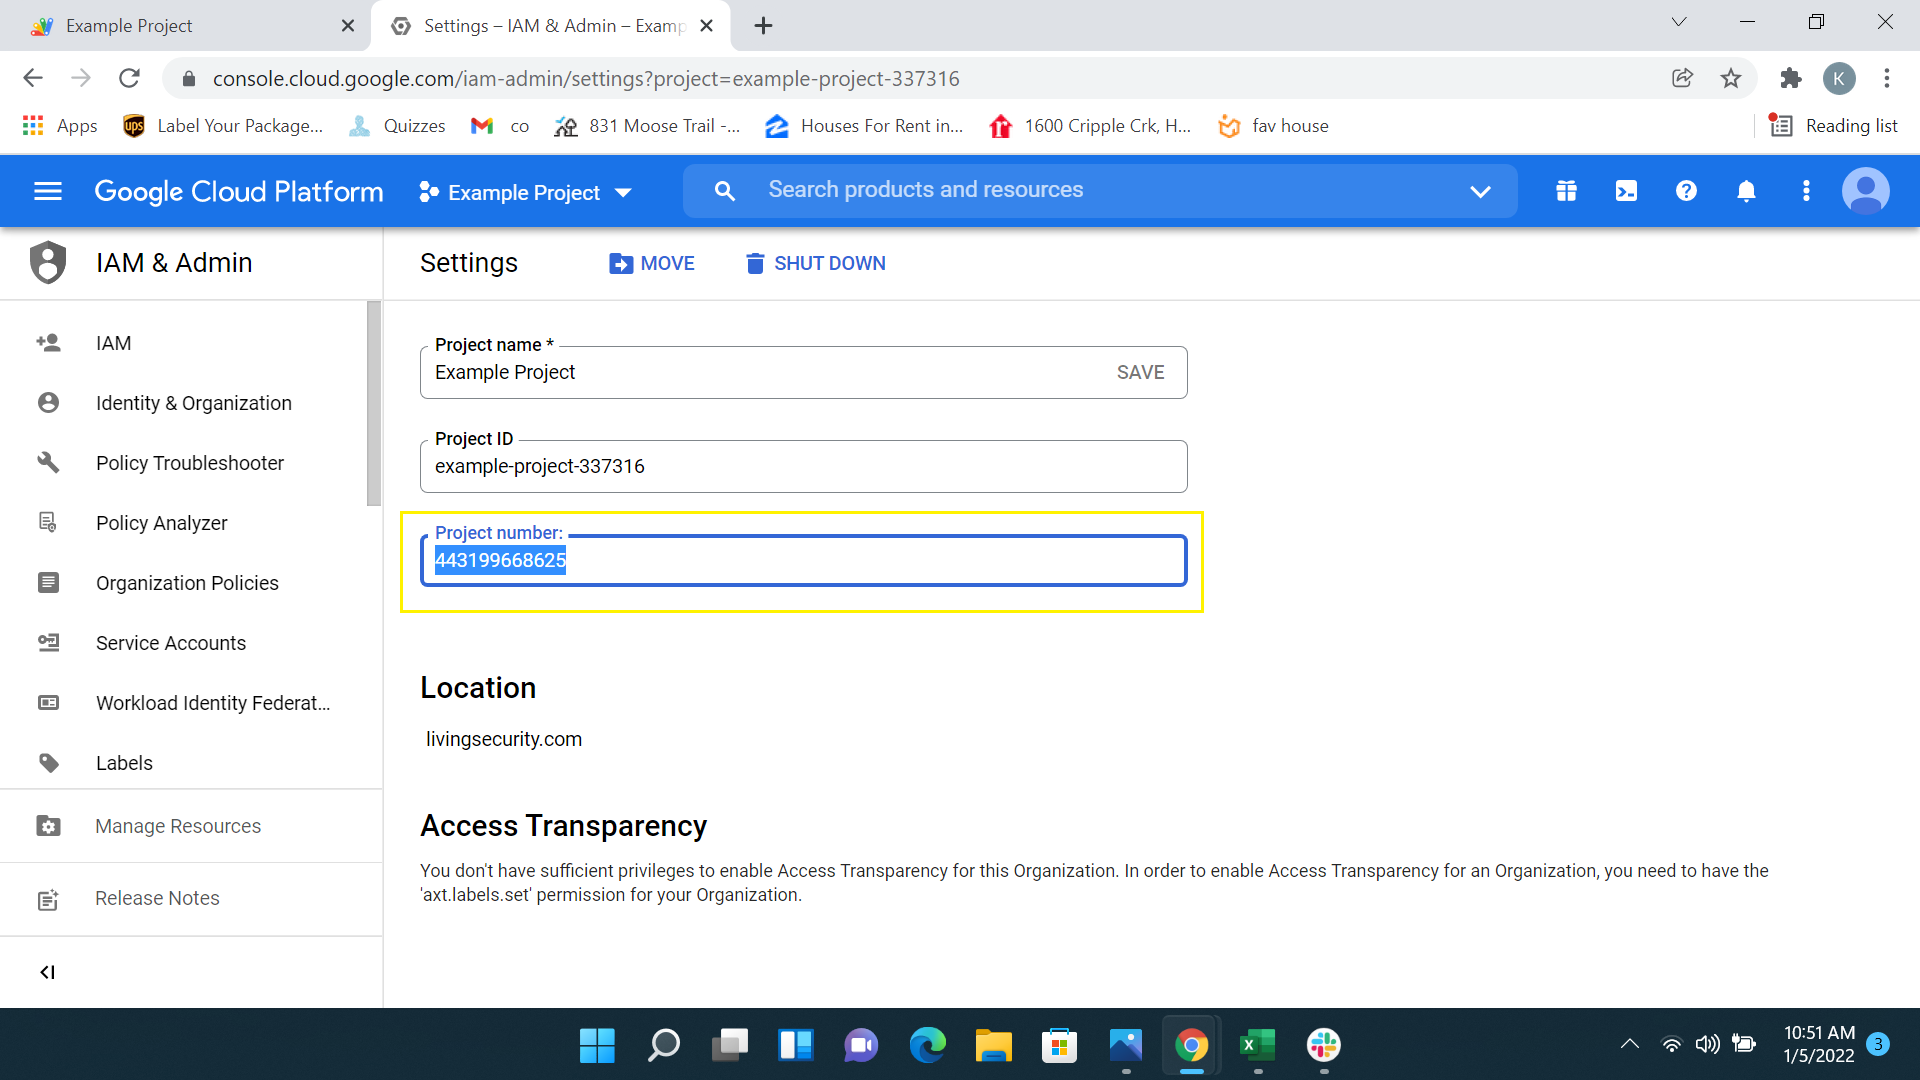
Go to console.cloud.google.com and create a new project.
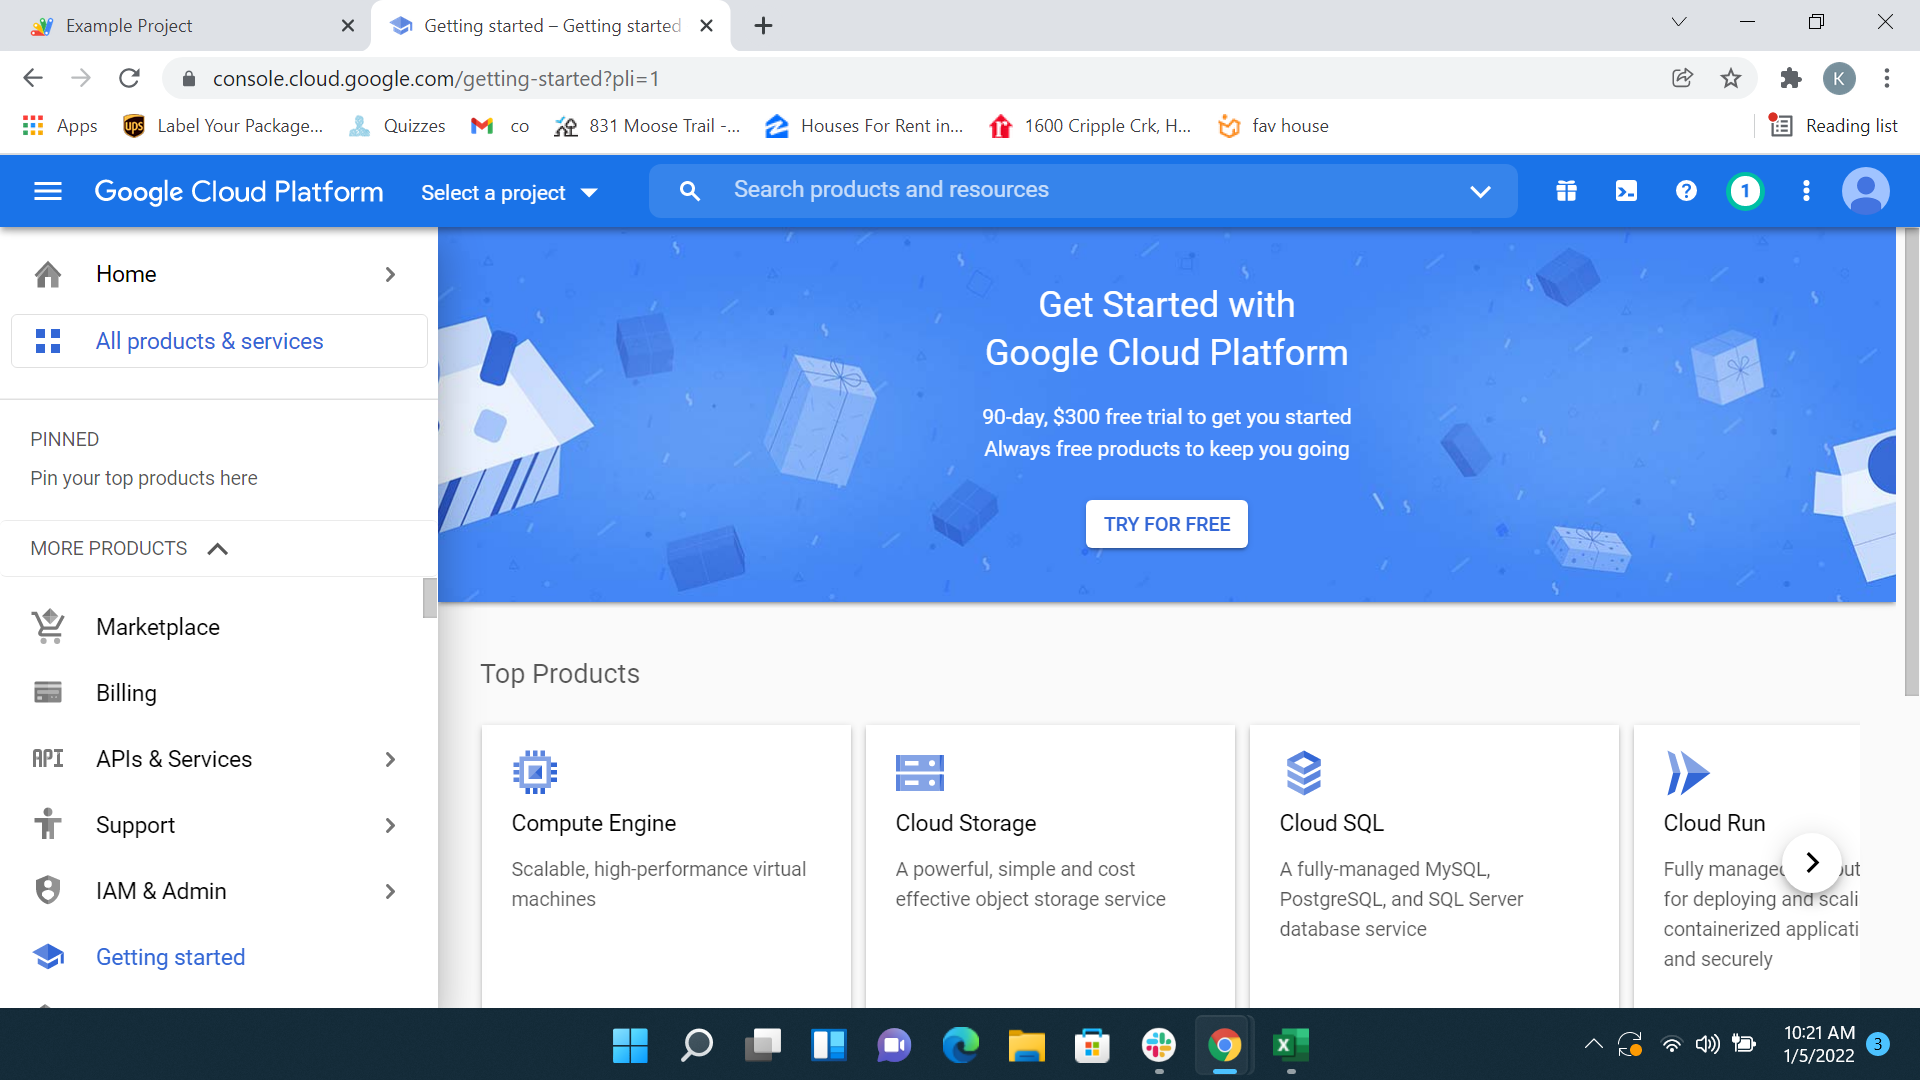

Name your project and select its location. Then click on the Create button to start your project.
Following the creation of the project, go to the APIs & Services --> OAuth consent page.
.png?width=688&name=image%20(17).png)
On the OAuth content screen, select the logo, fill in the required fields, and then click the Save button. At this point in the process, you are choosing whether or not the Gmail add-on will be visible publicly or only to your organization (Internally) within Google Marketplace.
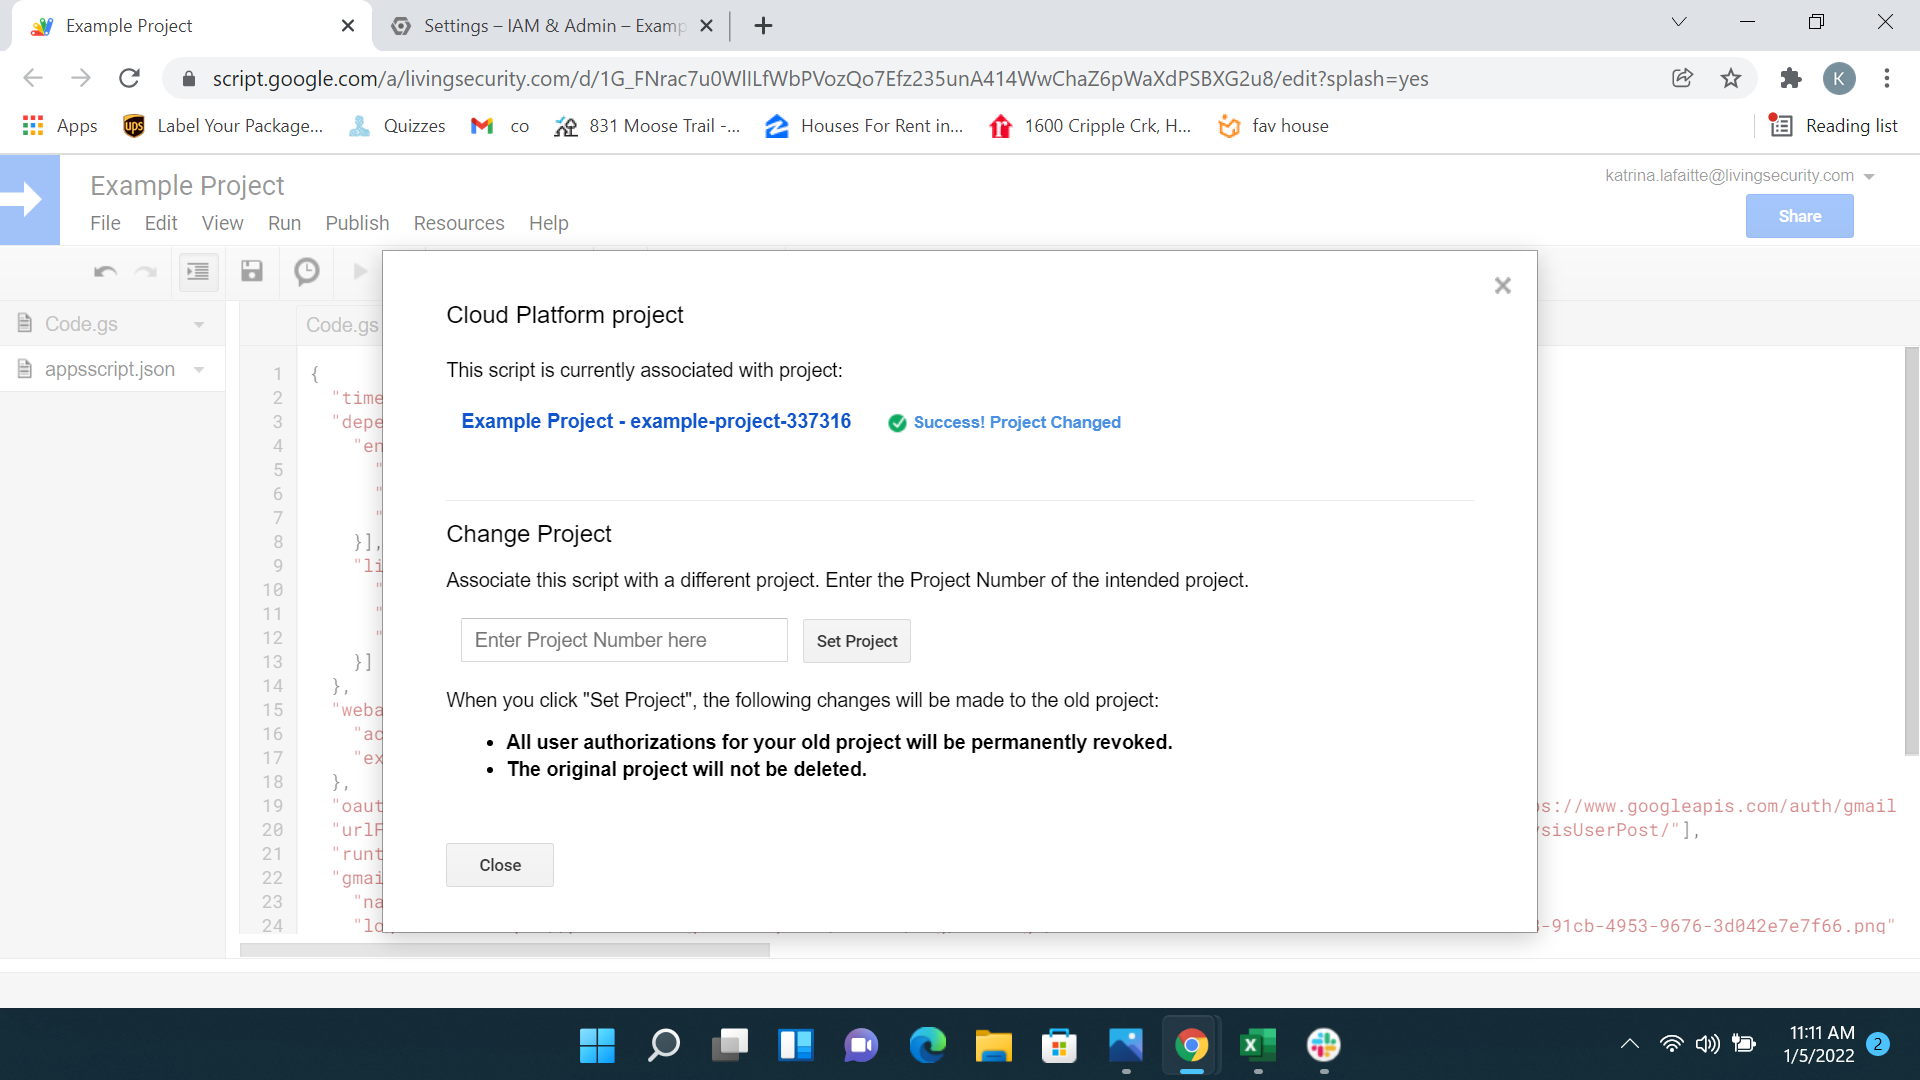
Then go to console.cloud.google.com and go to the project settings by clicking the Project settings button like in the screenshot below.
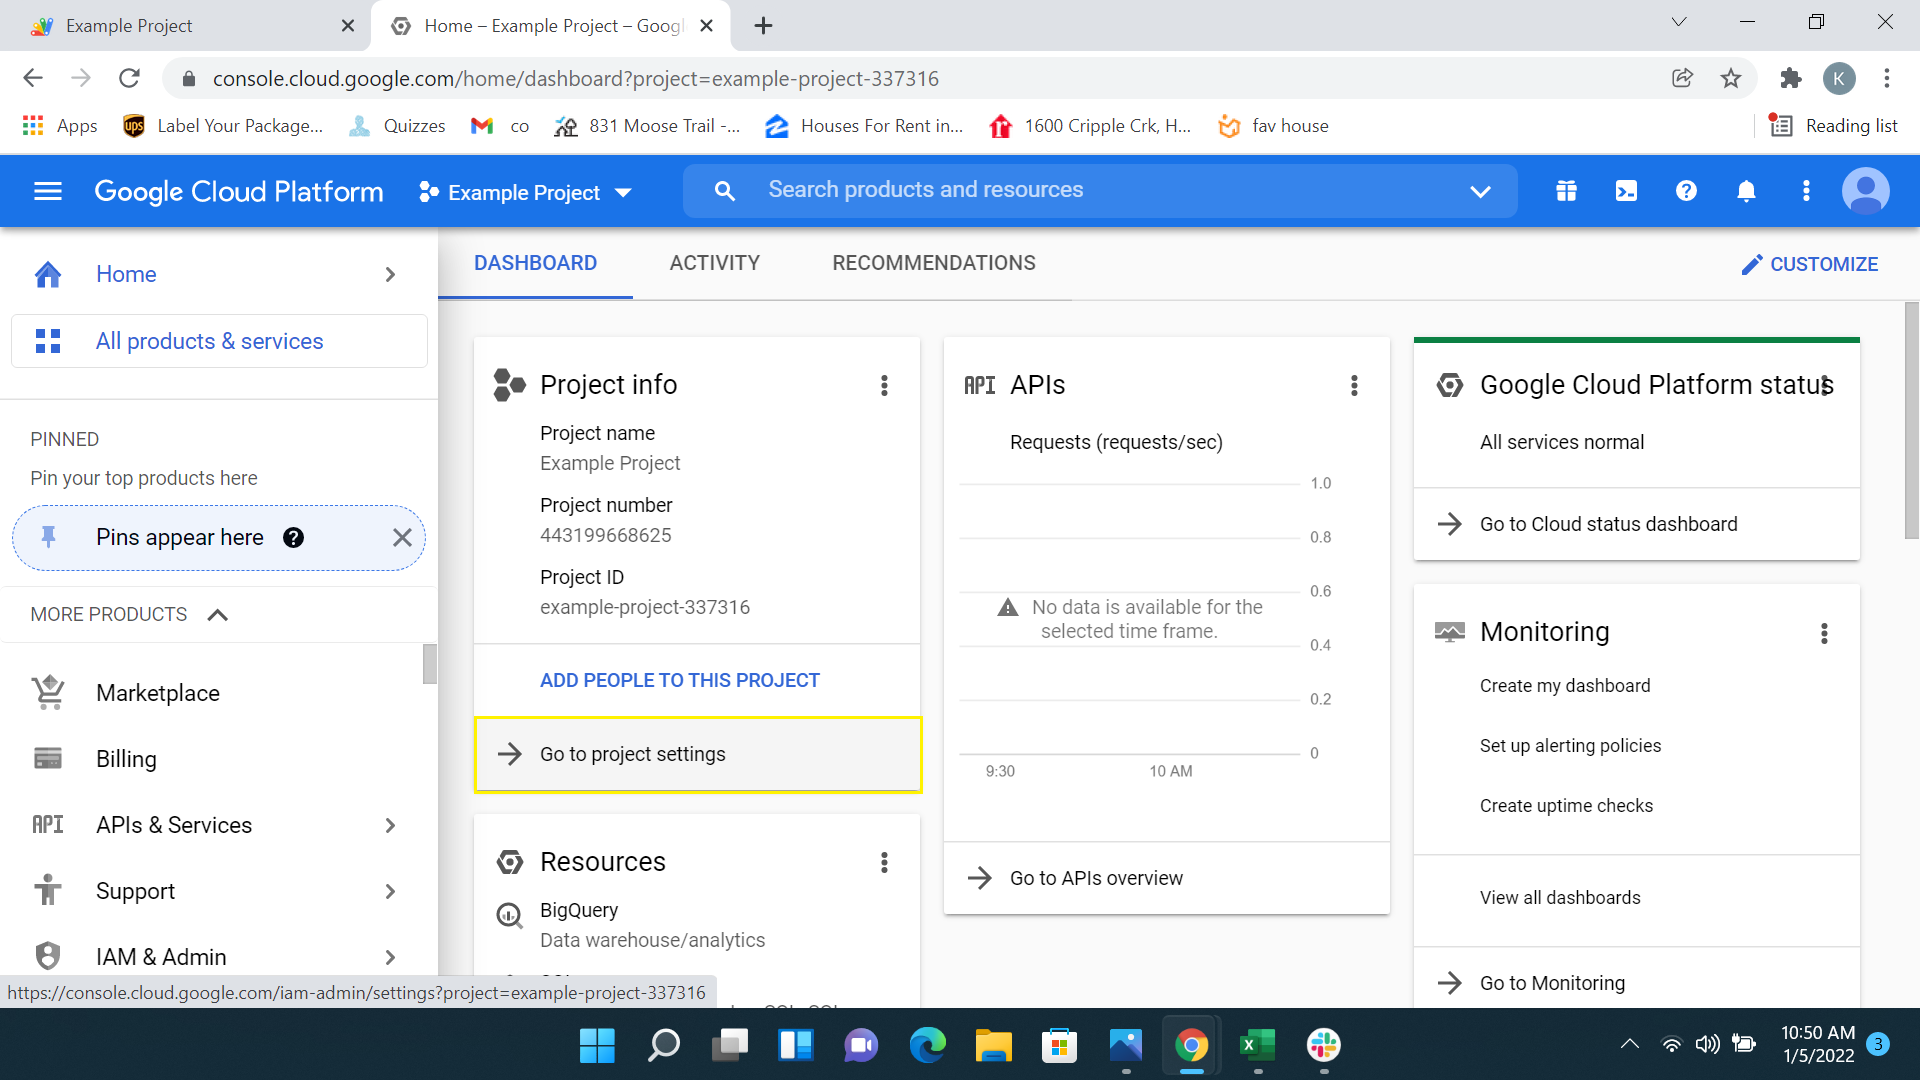
Copy the Project number value on Project Settings page.
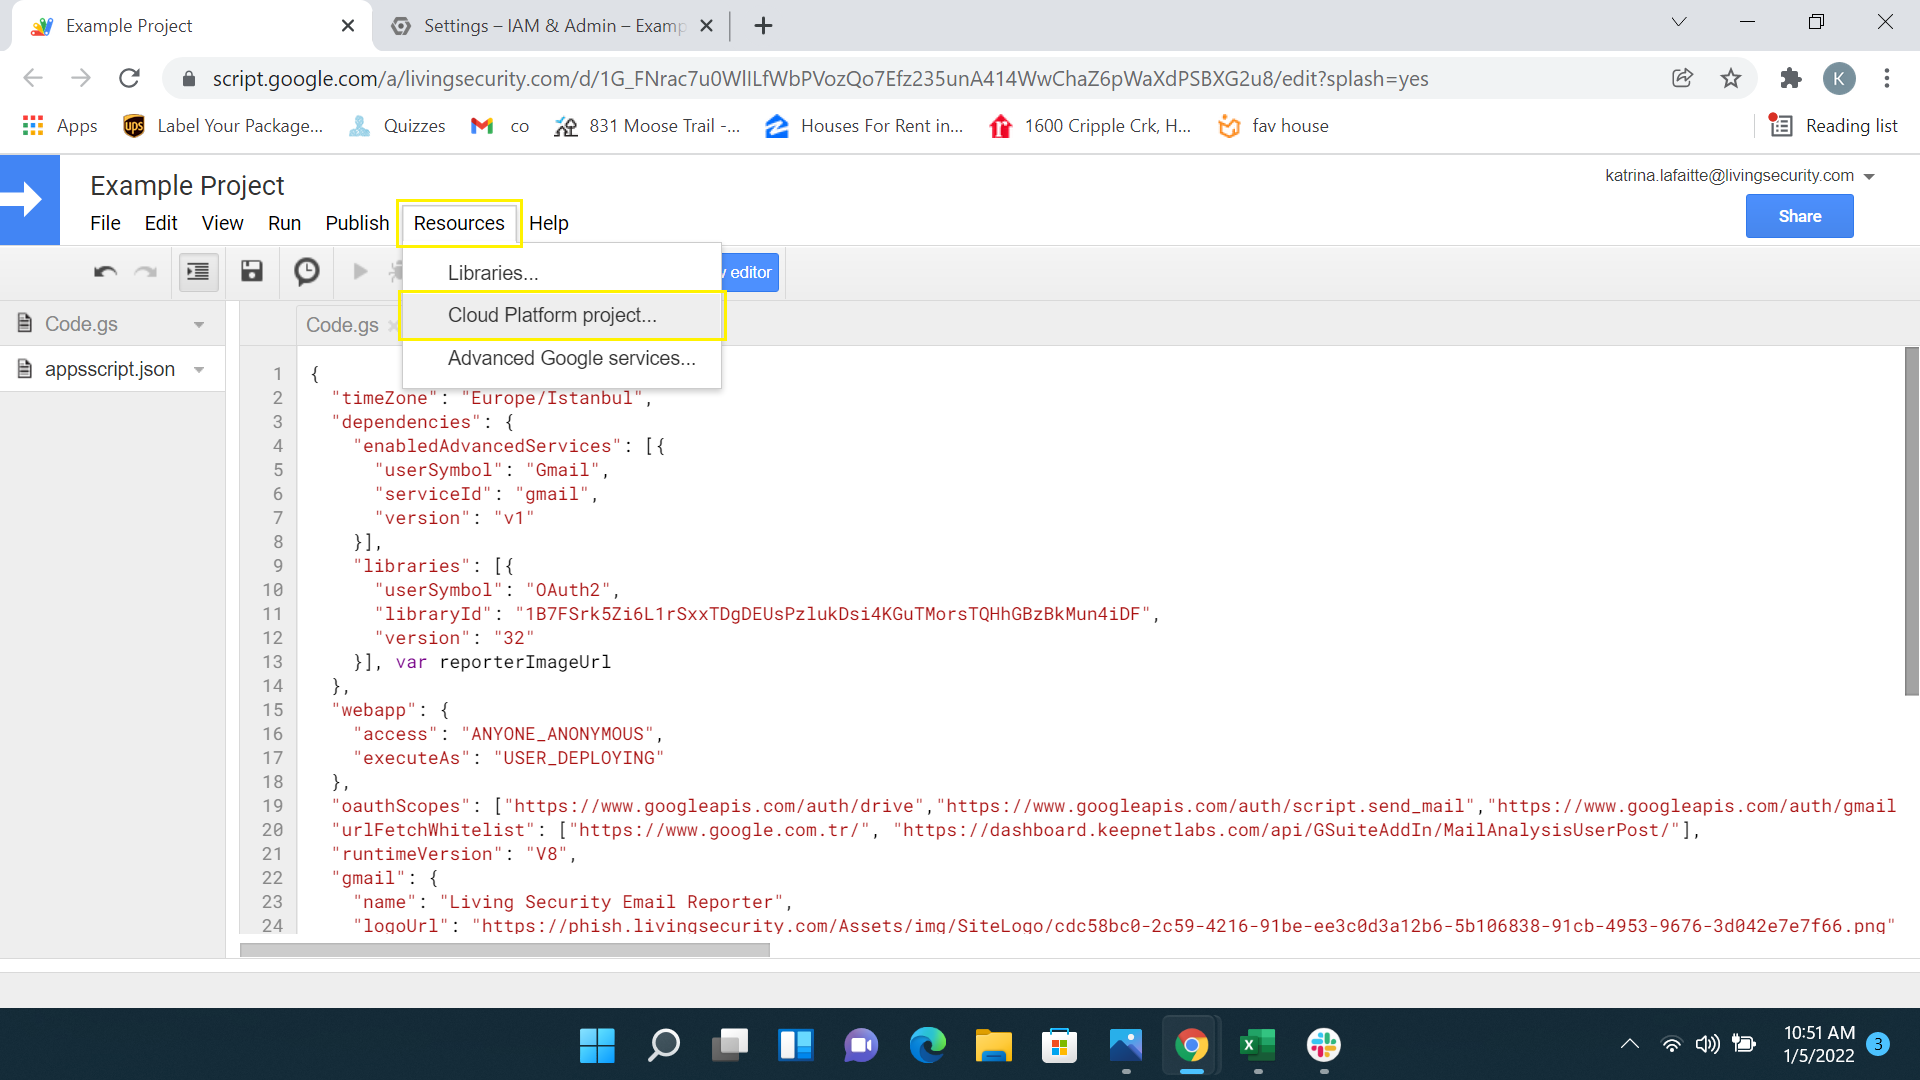
Follow Resources> Cloud Platform project path on Script.google.com.
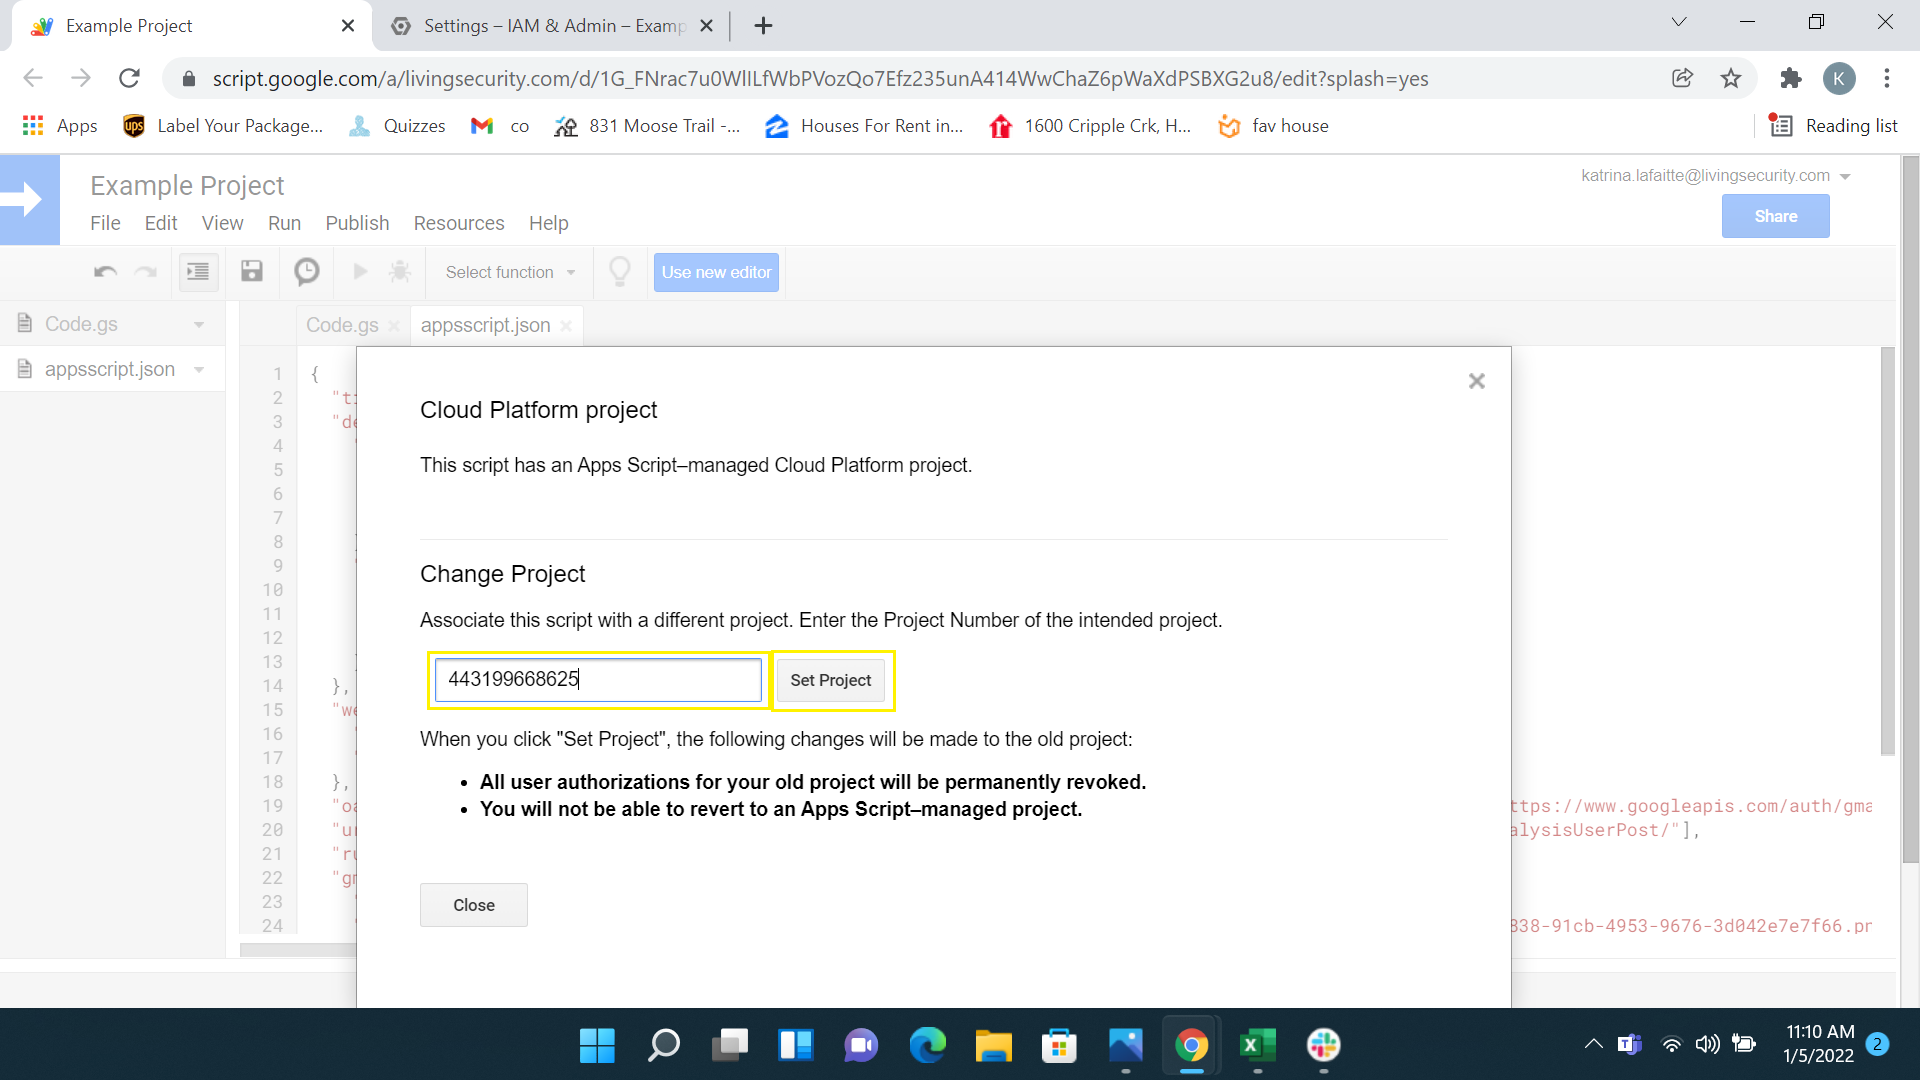
Then, on the Cloud Platform project page, paste Project number in the field and then click Set Project button.
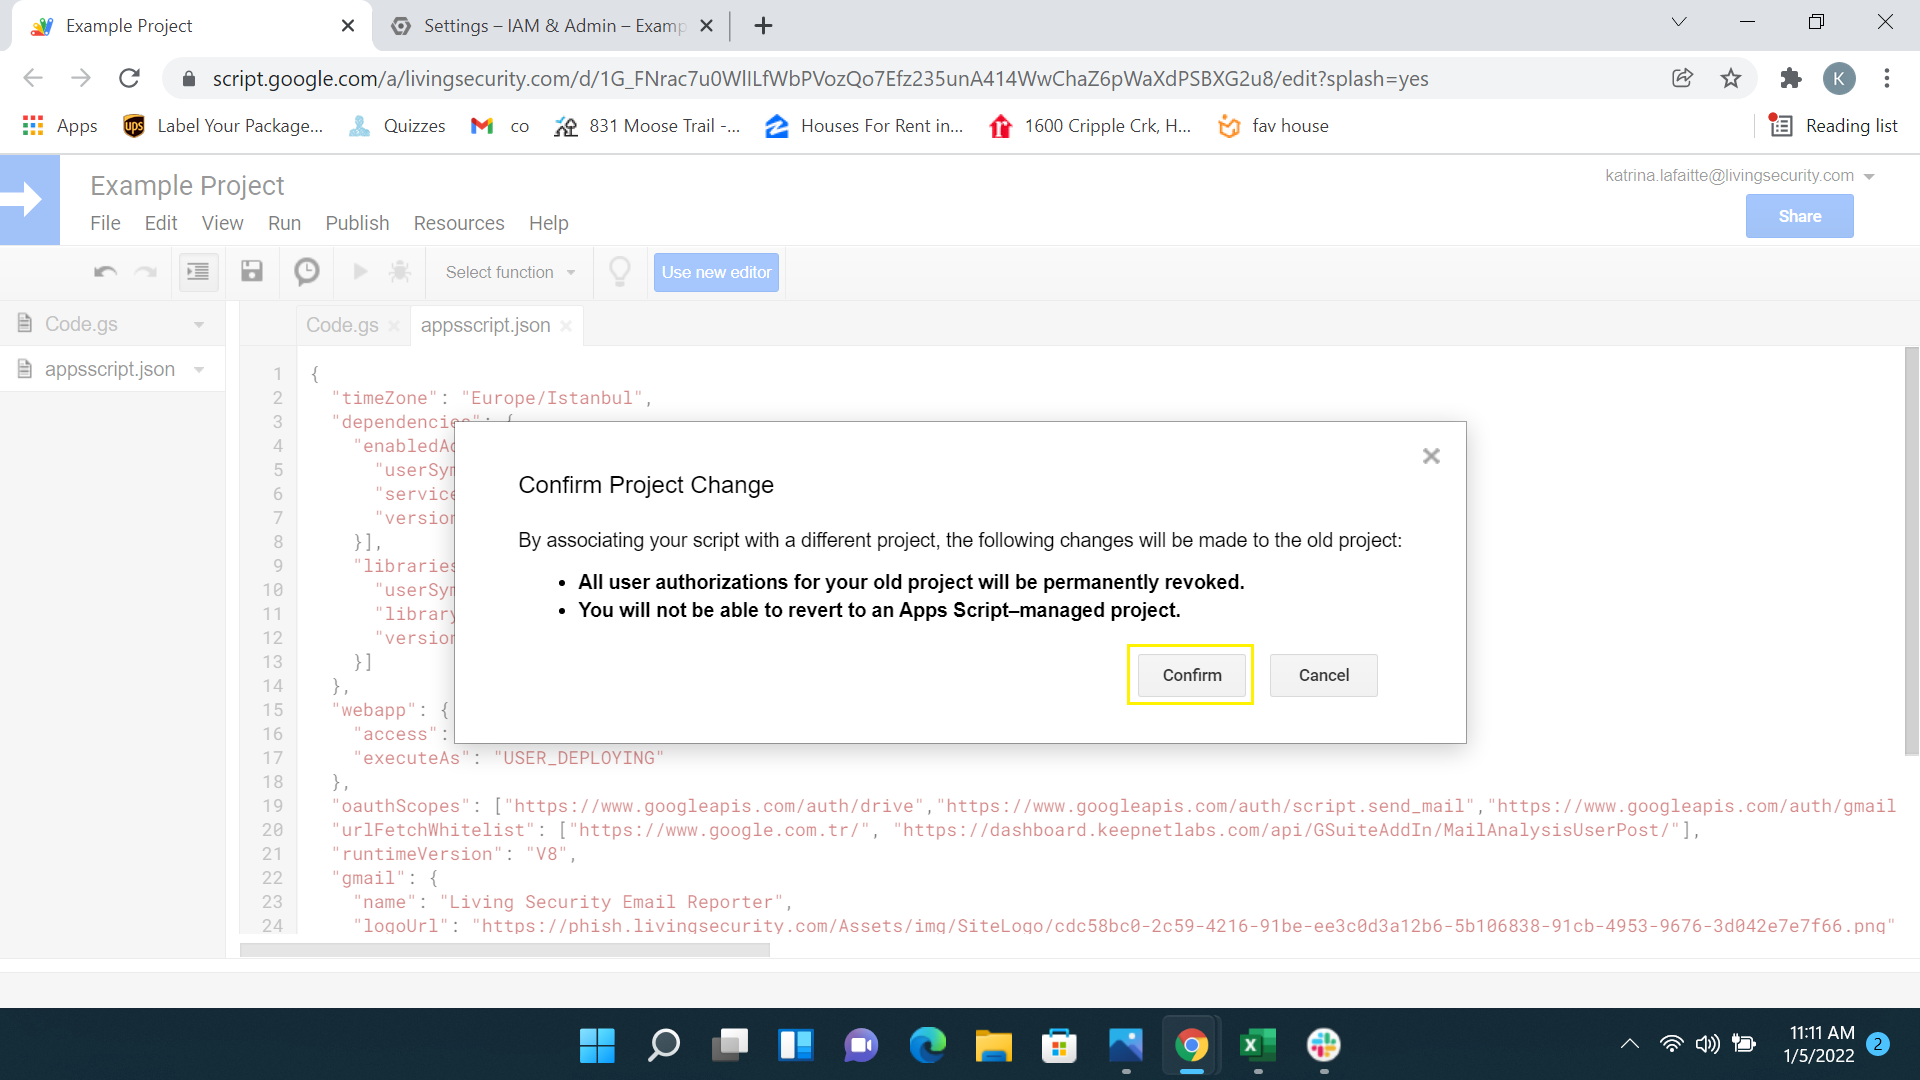
Then confirm the project change.
After the project change is confirmed, the change becomes successful.
Then go to your console.cloud.google.com tab and go to APIs & Services > Library.
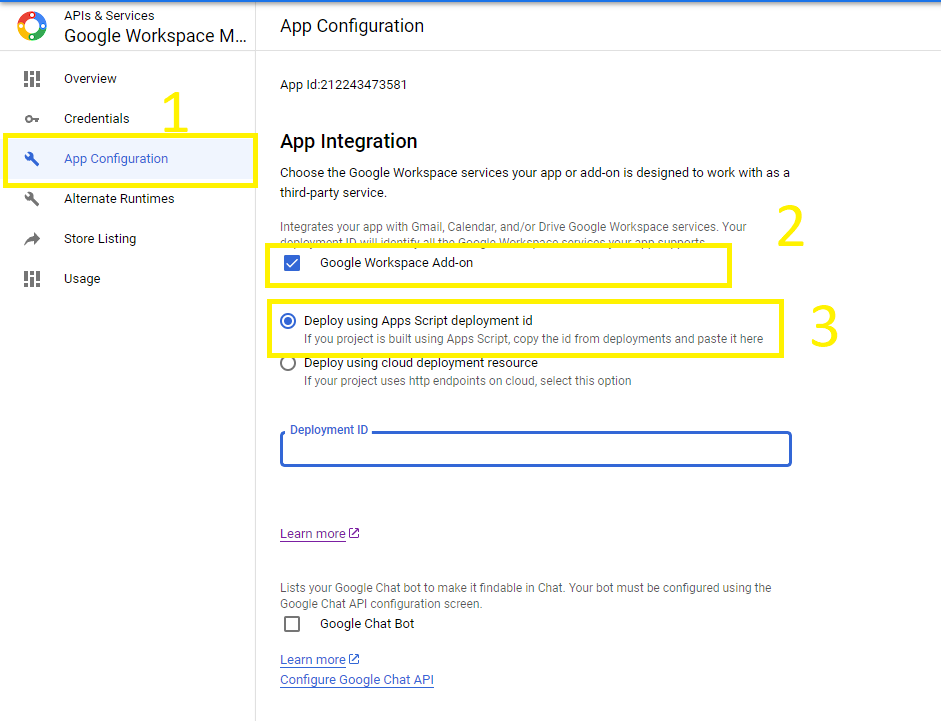
Figure 18. Configure Google Workspace Marketplace SDK.
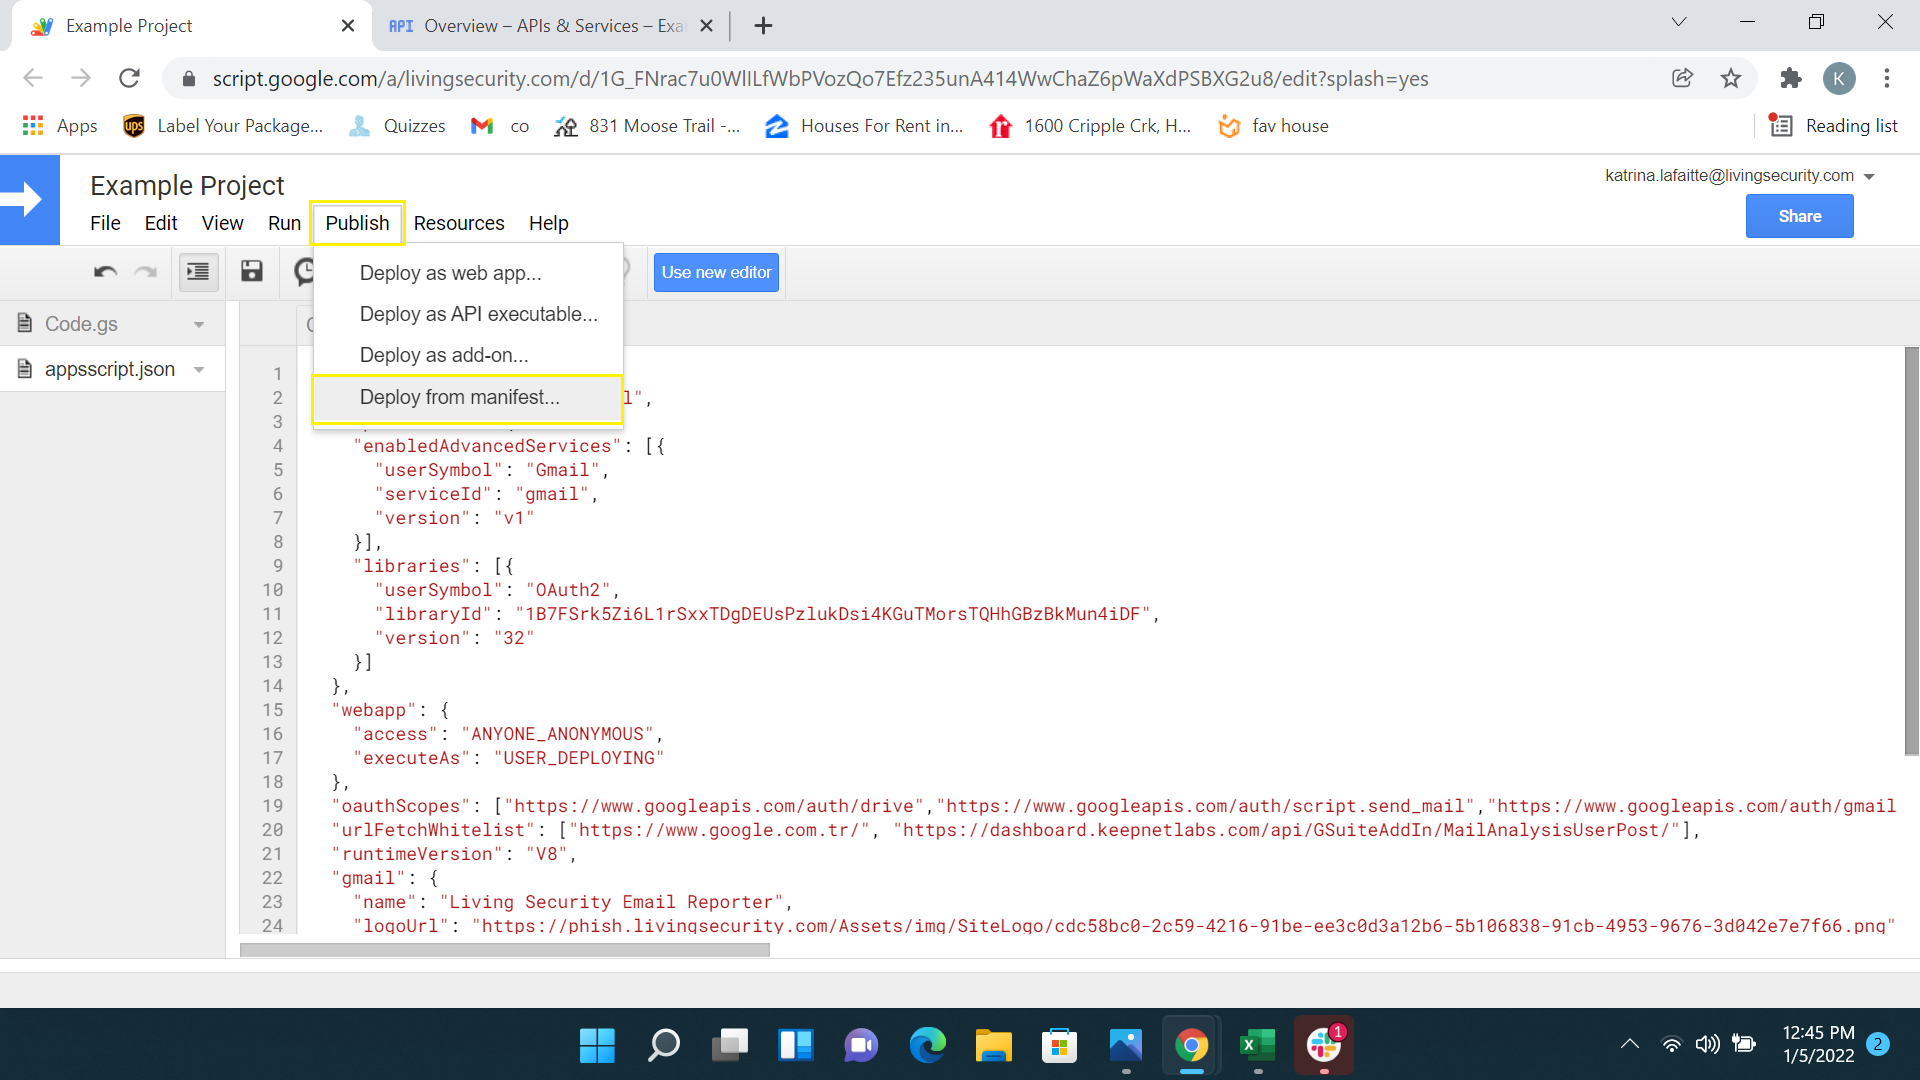
Go back to your scipt.google.com tab. Then follow Publish> Deploy from manifest.
Fill the fields highlighted in the following screenshot in order and click on the Create button.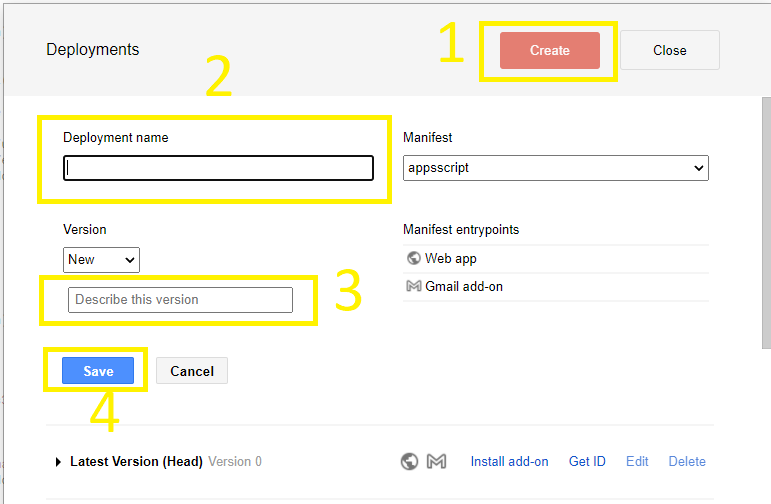
Clicking on the Get ID button and copy Deployment ID value from Deployment just created.
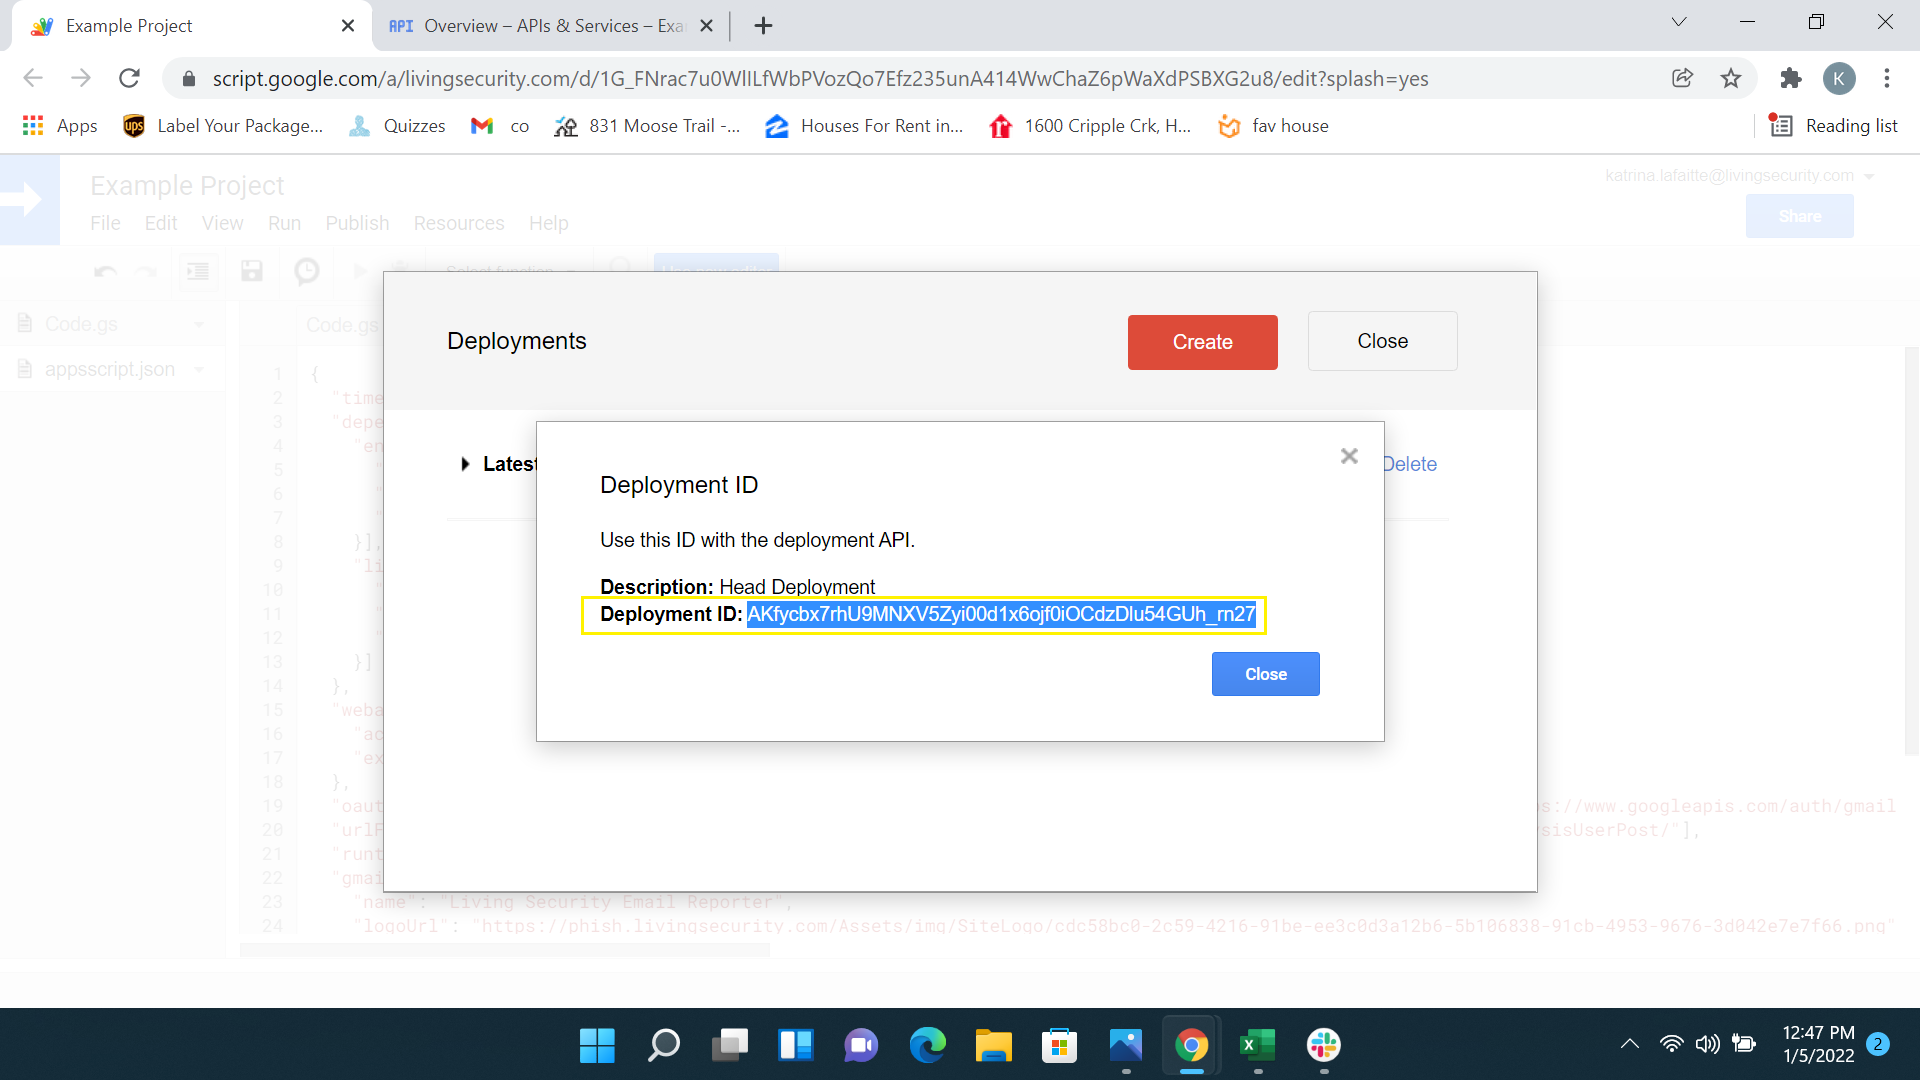
In the Deployment ID window, copy the Deployment ID value. (Note: Since this copied value will be used for the later step -shown in Figure 28- , we recommend you to save it in a notebook)
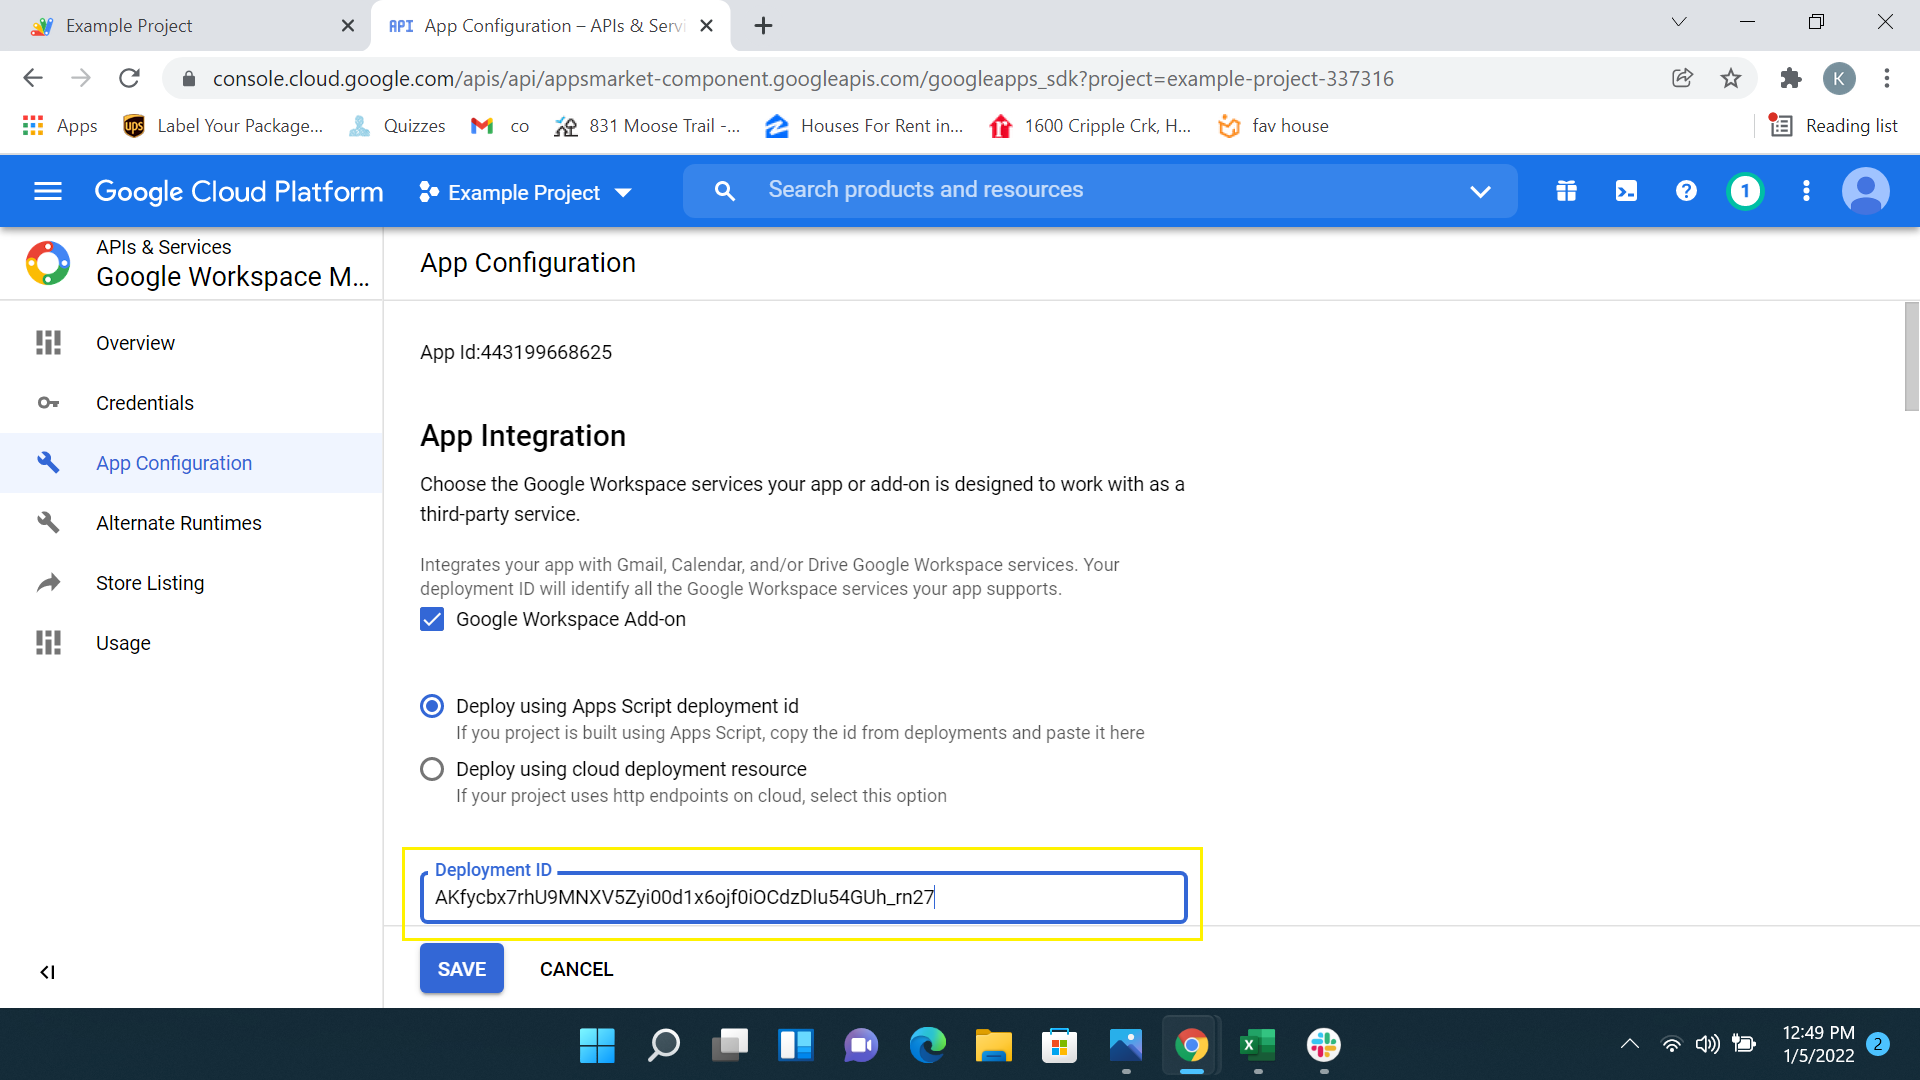
Go back to the console.cloud.google.com tab and enter the Deployment ID in the Google Workspace Marketplace SDK app configuration screen as seen in Figure 18. Fill out the required fields and click Save.
___________
.png?width=688&name=Figure%2023%20Updated%20(1).png)
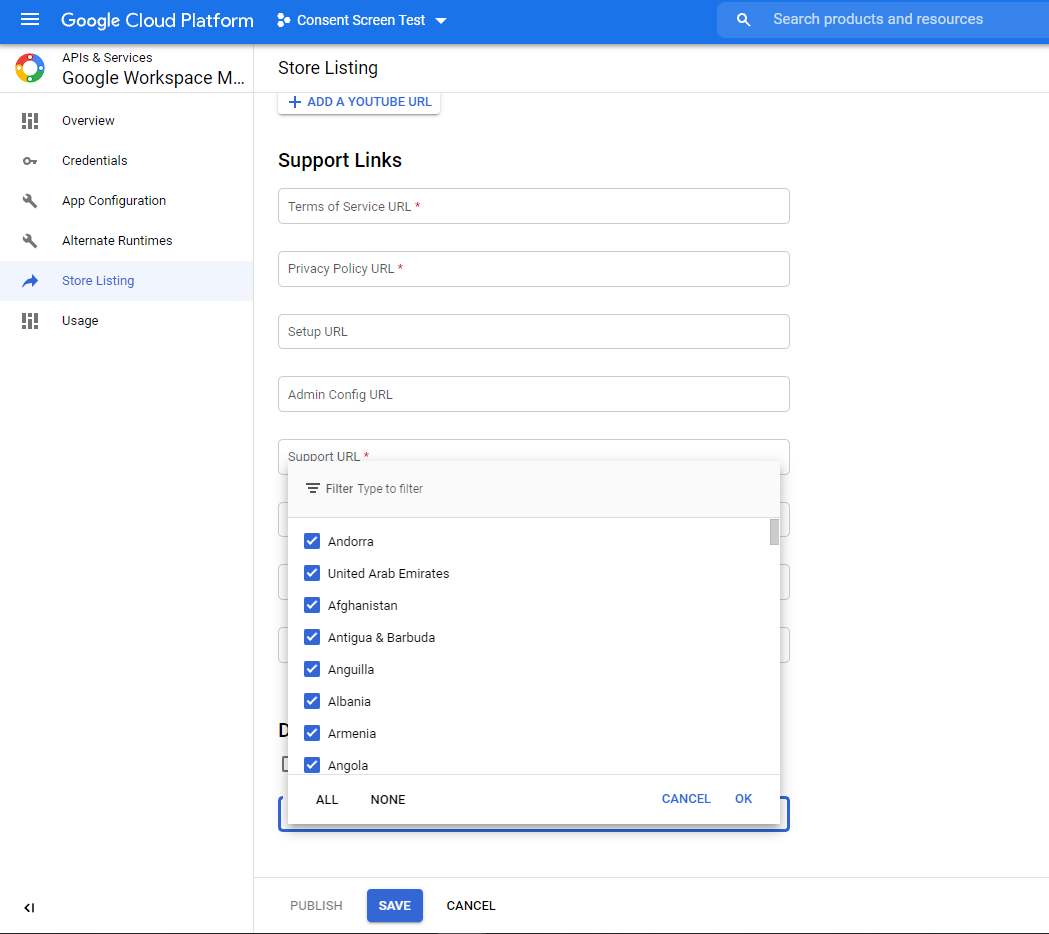
Go to the Store Listing tab. Upload the logos and screenshots provided by Platform and fill in the required fields.
Select category, related region, and the App Visibilty. (it is suggested to make it private so that it doesn't have to go thru Google review). Then click the Save button and then click Publish.
As seen in Figure 17, go to Library and search for Gmail API. Enable the Gmail API.

You can use the Quick Link appeared in the notification box for a quick access to the Marketplace .
Or go to admin.google.com and click on the Apps button to go to applications.
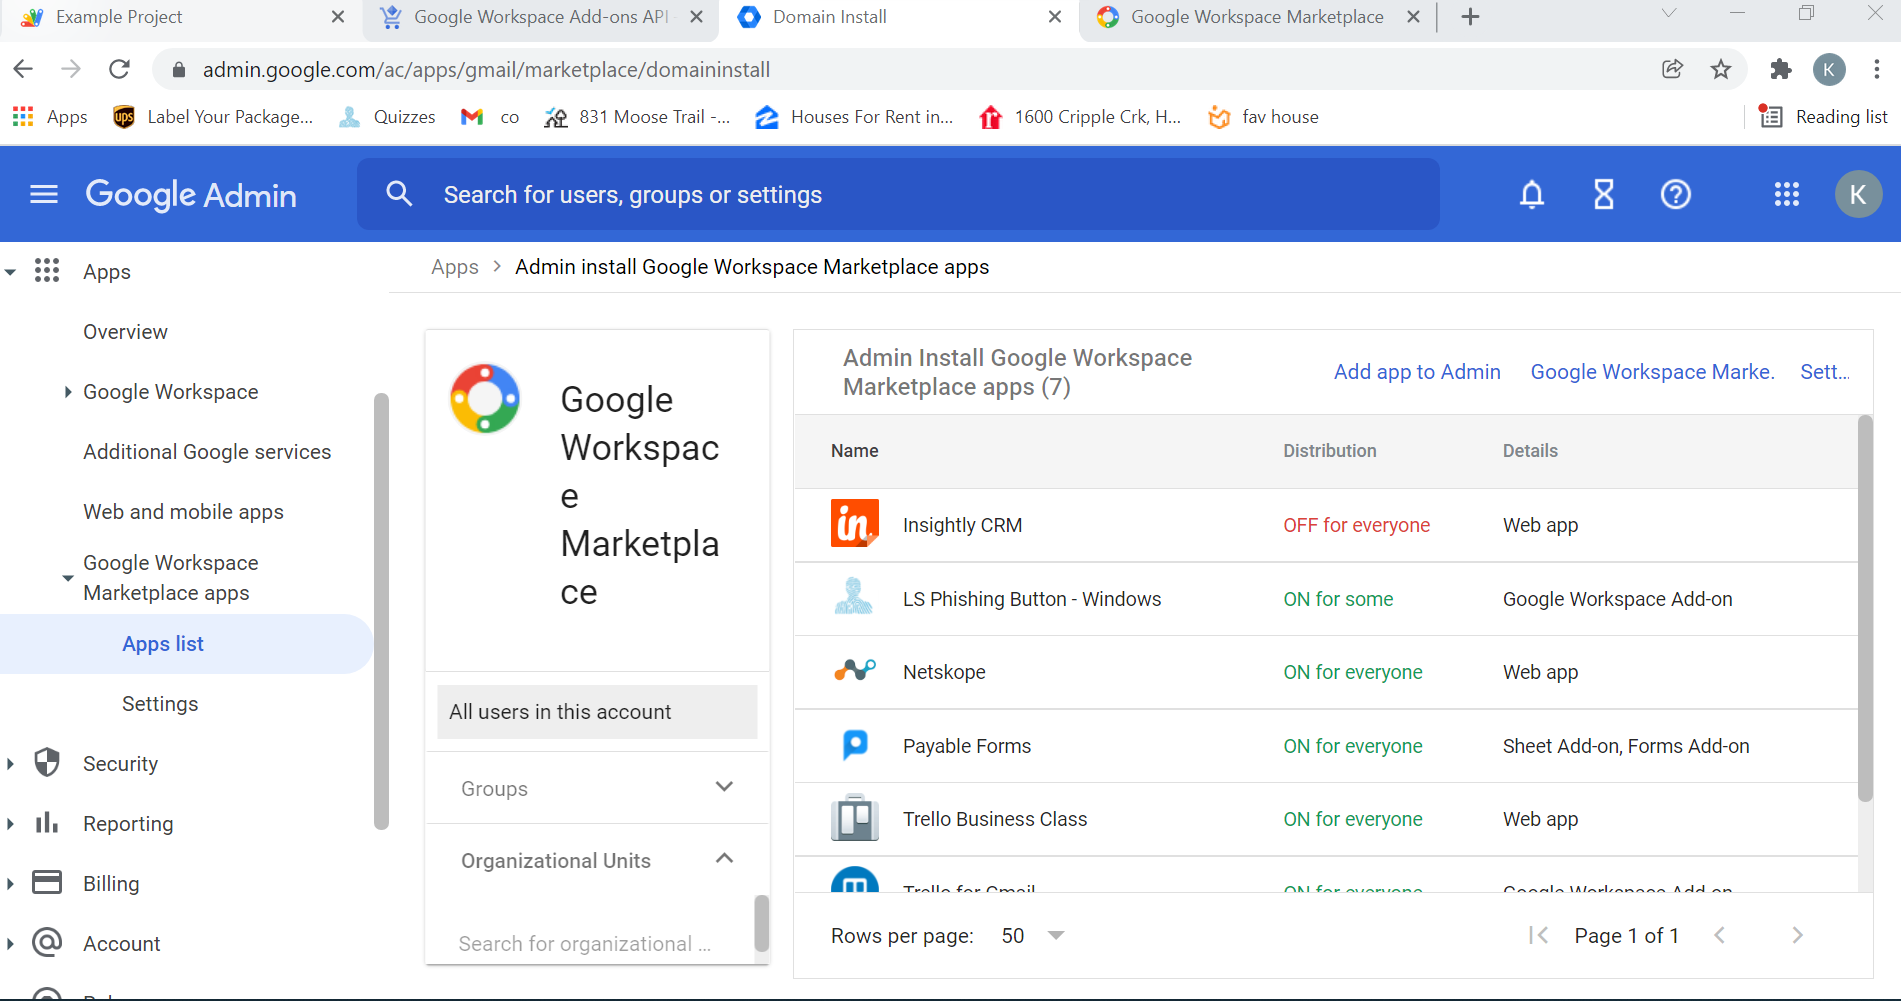
Click on the plus button to go to the application market.
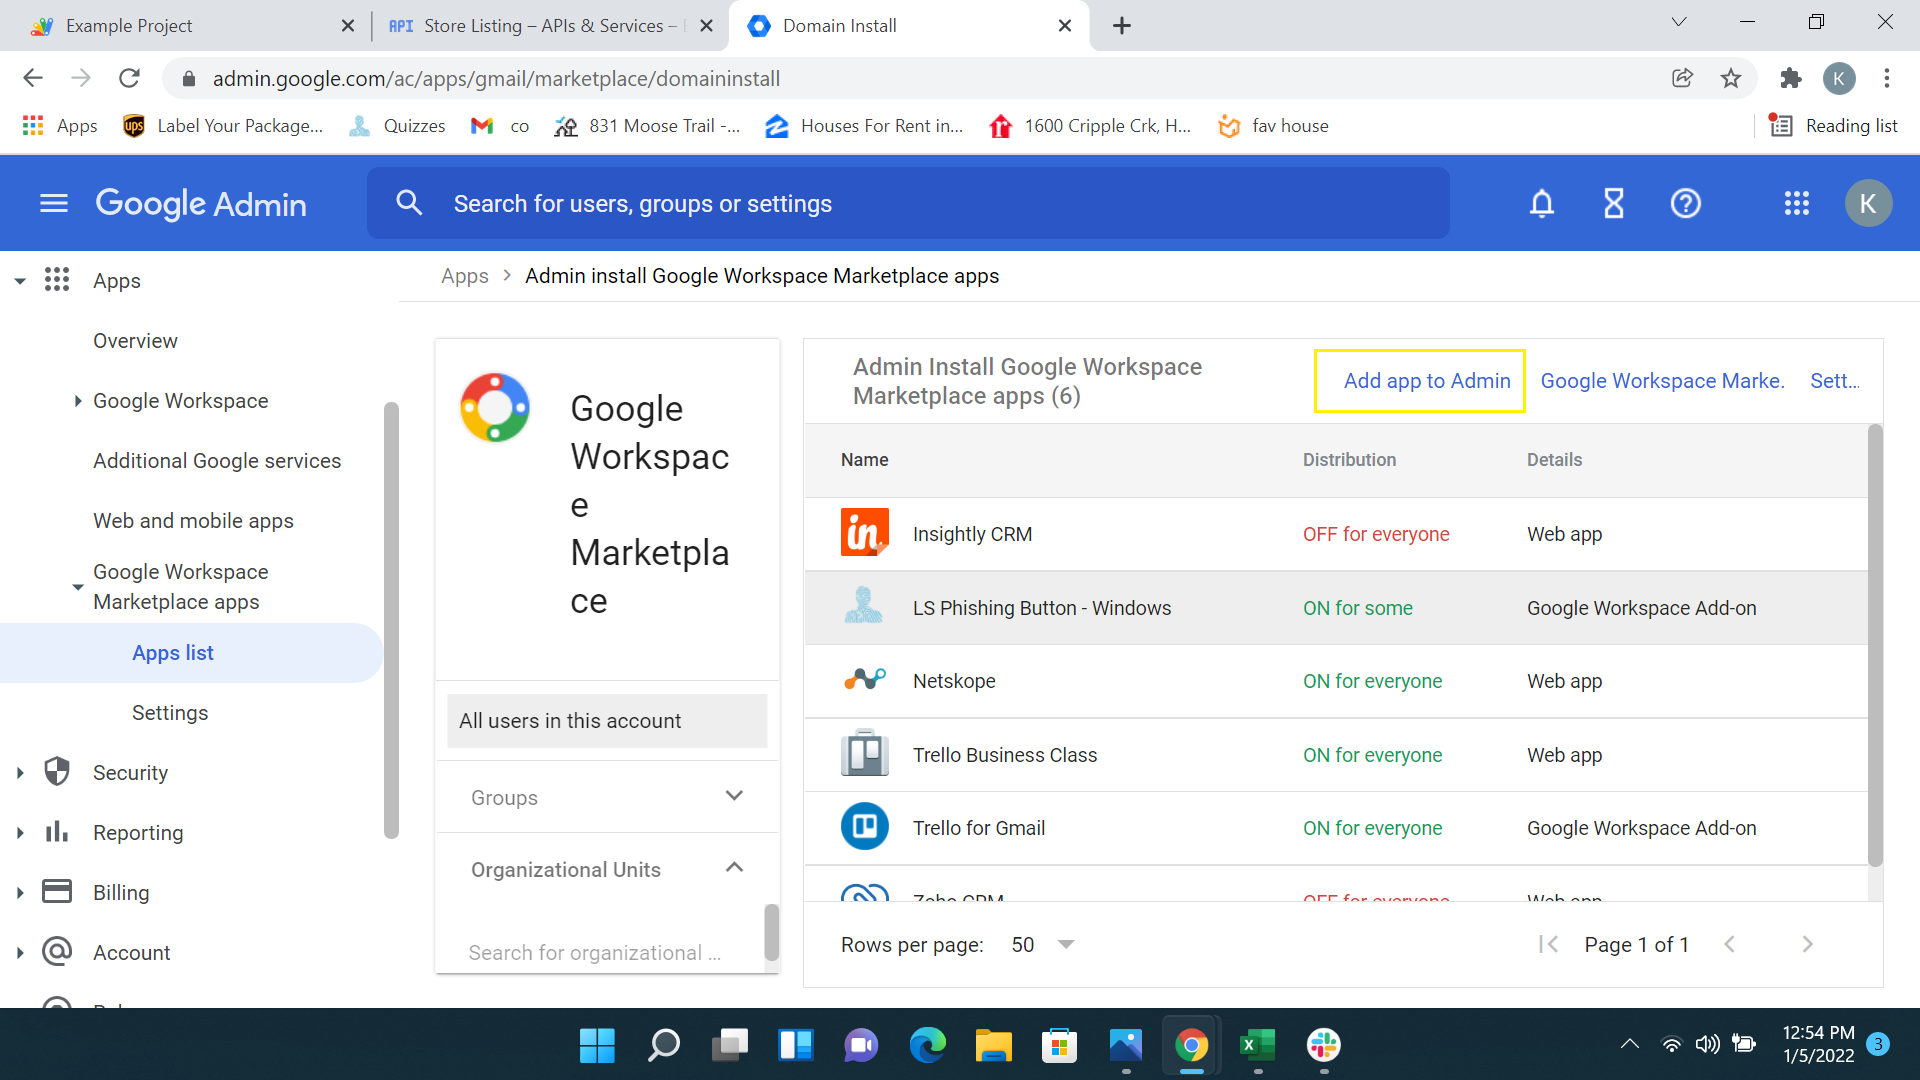
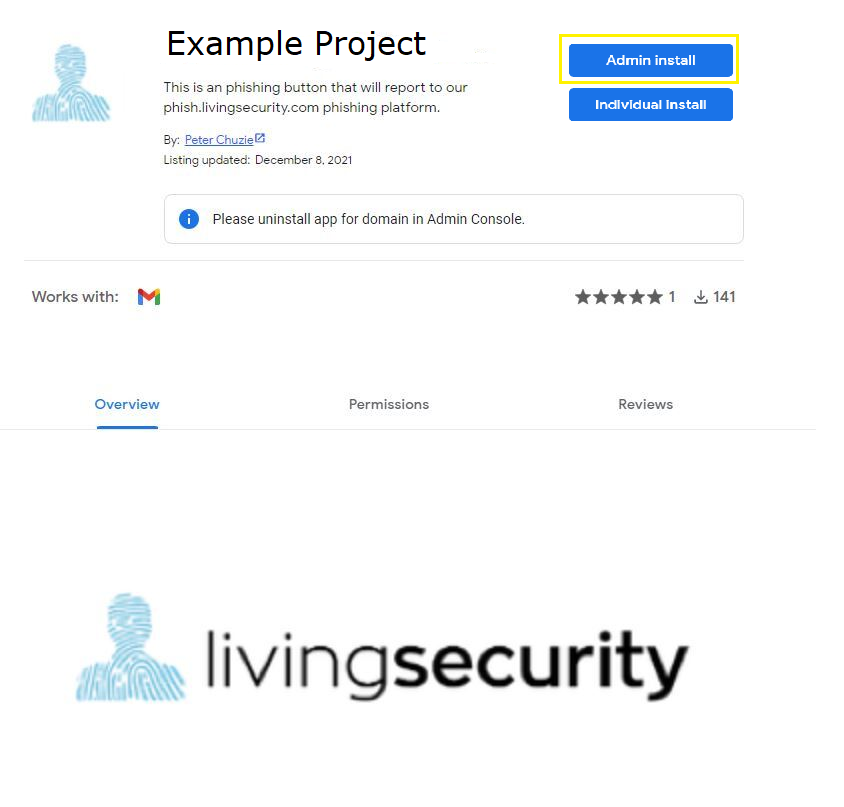
In the application market, find the add-in click on the Domain Install button to start the distribution/deployment process.
(Remember: If your organization restricts Google Marketplace App Installs, make sure to whitelist this application. Refer to instructions at the bottom.)
Click Continue to start the extension distribution and follow the setup wizard. You will need to accept the permissions needed for the app. After the permissions are accepted, the deployment is successfully completed.
__________________________________________________________________
Where to Whitelist the application as a Google Admin: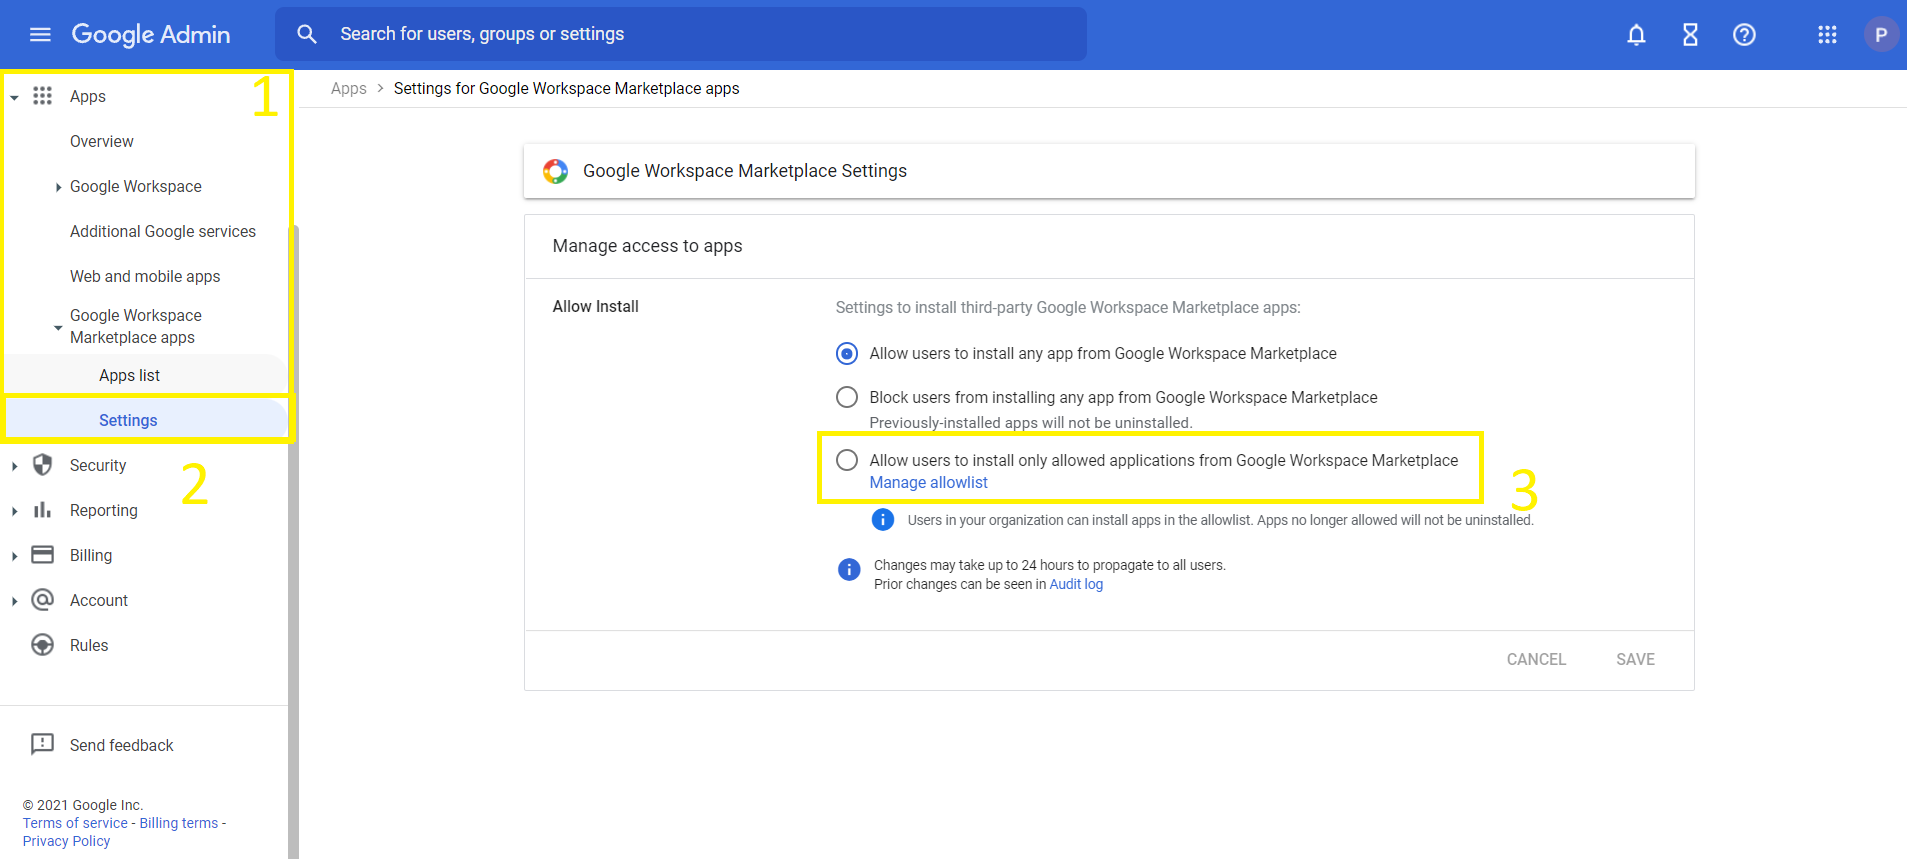
If your organization manages App access, then bullet number (3) in the screenshot will be selected. To allow the new App you created to be downloaded, click on Manage Allow list and add your App to the list.
