Using an Excel File
To use this feature, you must download the sample Excel file from our platform. Go to the Company > Target Users where you will see your existing user groups. If you want to import your new users to an existing group, click on the ✉ Mails under Action.
To create a new Target User, you will click New Group and name the group to your liking. 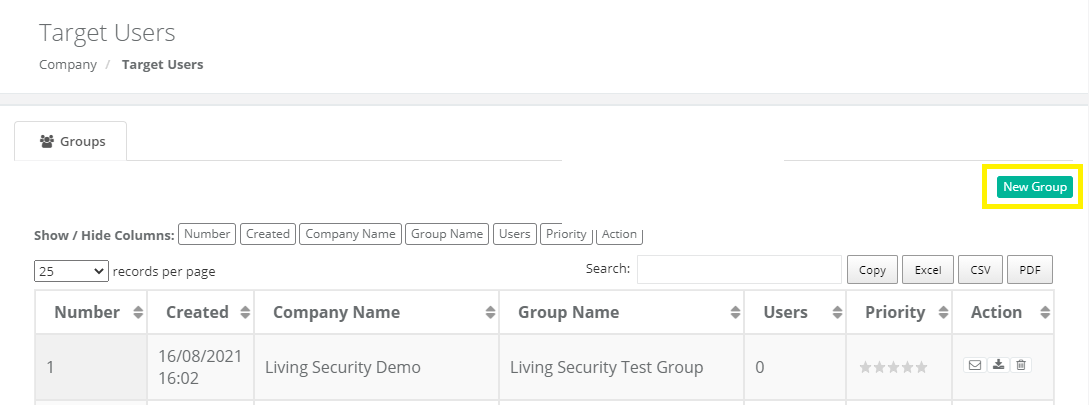
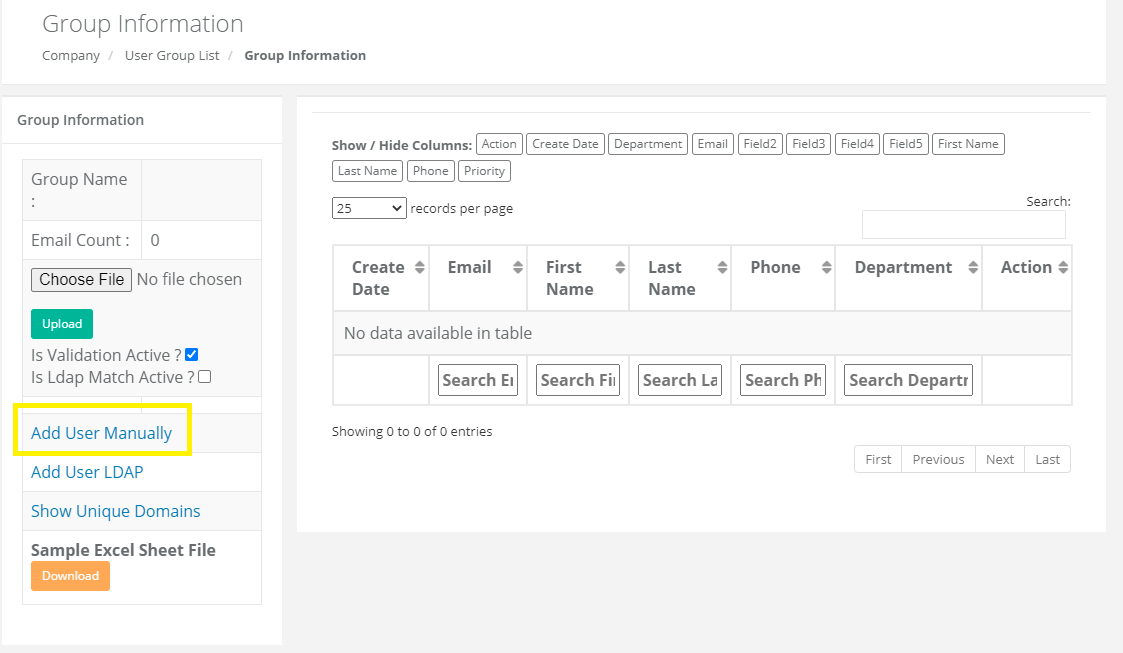
On the new page opened (the Group Information page), click on the Download button bottom left-hand corner to have your "Sample Excel Sheet File"
You must import your users into the "Sample Excel Sheet File". The sequence should be as following:
Email | Name | Surname | Phone | Department | Extra Field 1 | Extra Field 2
Not all of the fields are required, but we recommend that you fill in the Email, Name, Surname fields.
To prevent the syntax structure from damage, do not delete the fields you have not filled in!
Once you prepare your target group information in the Excel file, you can upload it into the system from the Choose File button on the Group Information page.
If you want to create a new user group, go to Company > Target Users and click on the New Group button on the upper right-hand corner. Once you name your group, you will be redirected to your Target Users Page where you will see your new group's name. However, note that this group will be empty and you have to import your users by clicking on the Mails button under Action.
Manual Email Input
You can also add email details to your target groups manually. For this, go to Company> Target users, and click on the ✉(Mails) button of the related group, open the Group Information page. Here, click on the Add User Manually button to go to the Email User Edit page. Fill in the related fields and click on Save to complete the process.